Last year I set about replacing my well-traveled Kona Sutra. Having decided to sell off our extra vehicles (we went from 2 cars and a motorcycle down to a single car), M and figured that we should celebrate with new bicycles.
The search.
There was much I loved about my current bike, so I had a good place to start from. The geometry was mostly-right for my body, but not quite-right enough (few sore body parts and numb hands told me that that there were things to fix). I put together a quick list of must-haves in my new ride…
- Perfect fit from the start – I want to love spending hours in the saddle without consequence to my body.
- Zippy, more aggressive yet confident and stable – my older bike was a beastly thing which serves well for touring, but not as well for daily driving. My goal was good enough for loaded touring, great for light touring, awesome for the commute/fun weekend ride.
- Durable – at the end of the day, I don’t want to have to worry about what will go wrong when I’m out and about.
I looked and test drove at a lot of bikes (the newer Kona Sutras, the Long Haul / Disc Truckers, Salsa Vaya’s, etc.) and soon figured out that it was worth the wait and cost to have a custom frame built. Living in Seattle, there were some great options at my disposal having both Davidson (http://davidsonbicycles.com/) and R+E/Rodriguez (http://www.rodbikes.com/) in my back yard. I spent some time talking to the folks at R+E and just didn’t get a good vibe from them. In my search, I started to hear about Seven Cycles (http://sevencycles.com/home.php) and my curiosity got piqued. When I called Zach at Cascade Bicycle Studio in Fremont (http://cascadebicyclestudio.com/) I immediately got a good feeling when I let him know what I was looking for. Walking into the shop and meeting with Zach and Terry for the first time convinced me that I had made the right choice by choosing Seven and CBS.
Custom all the things!
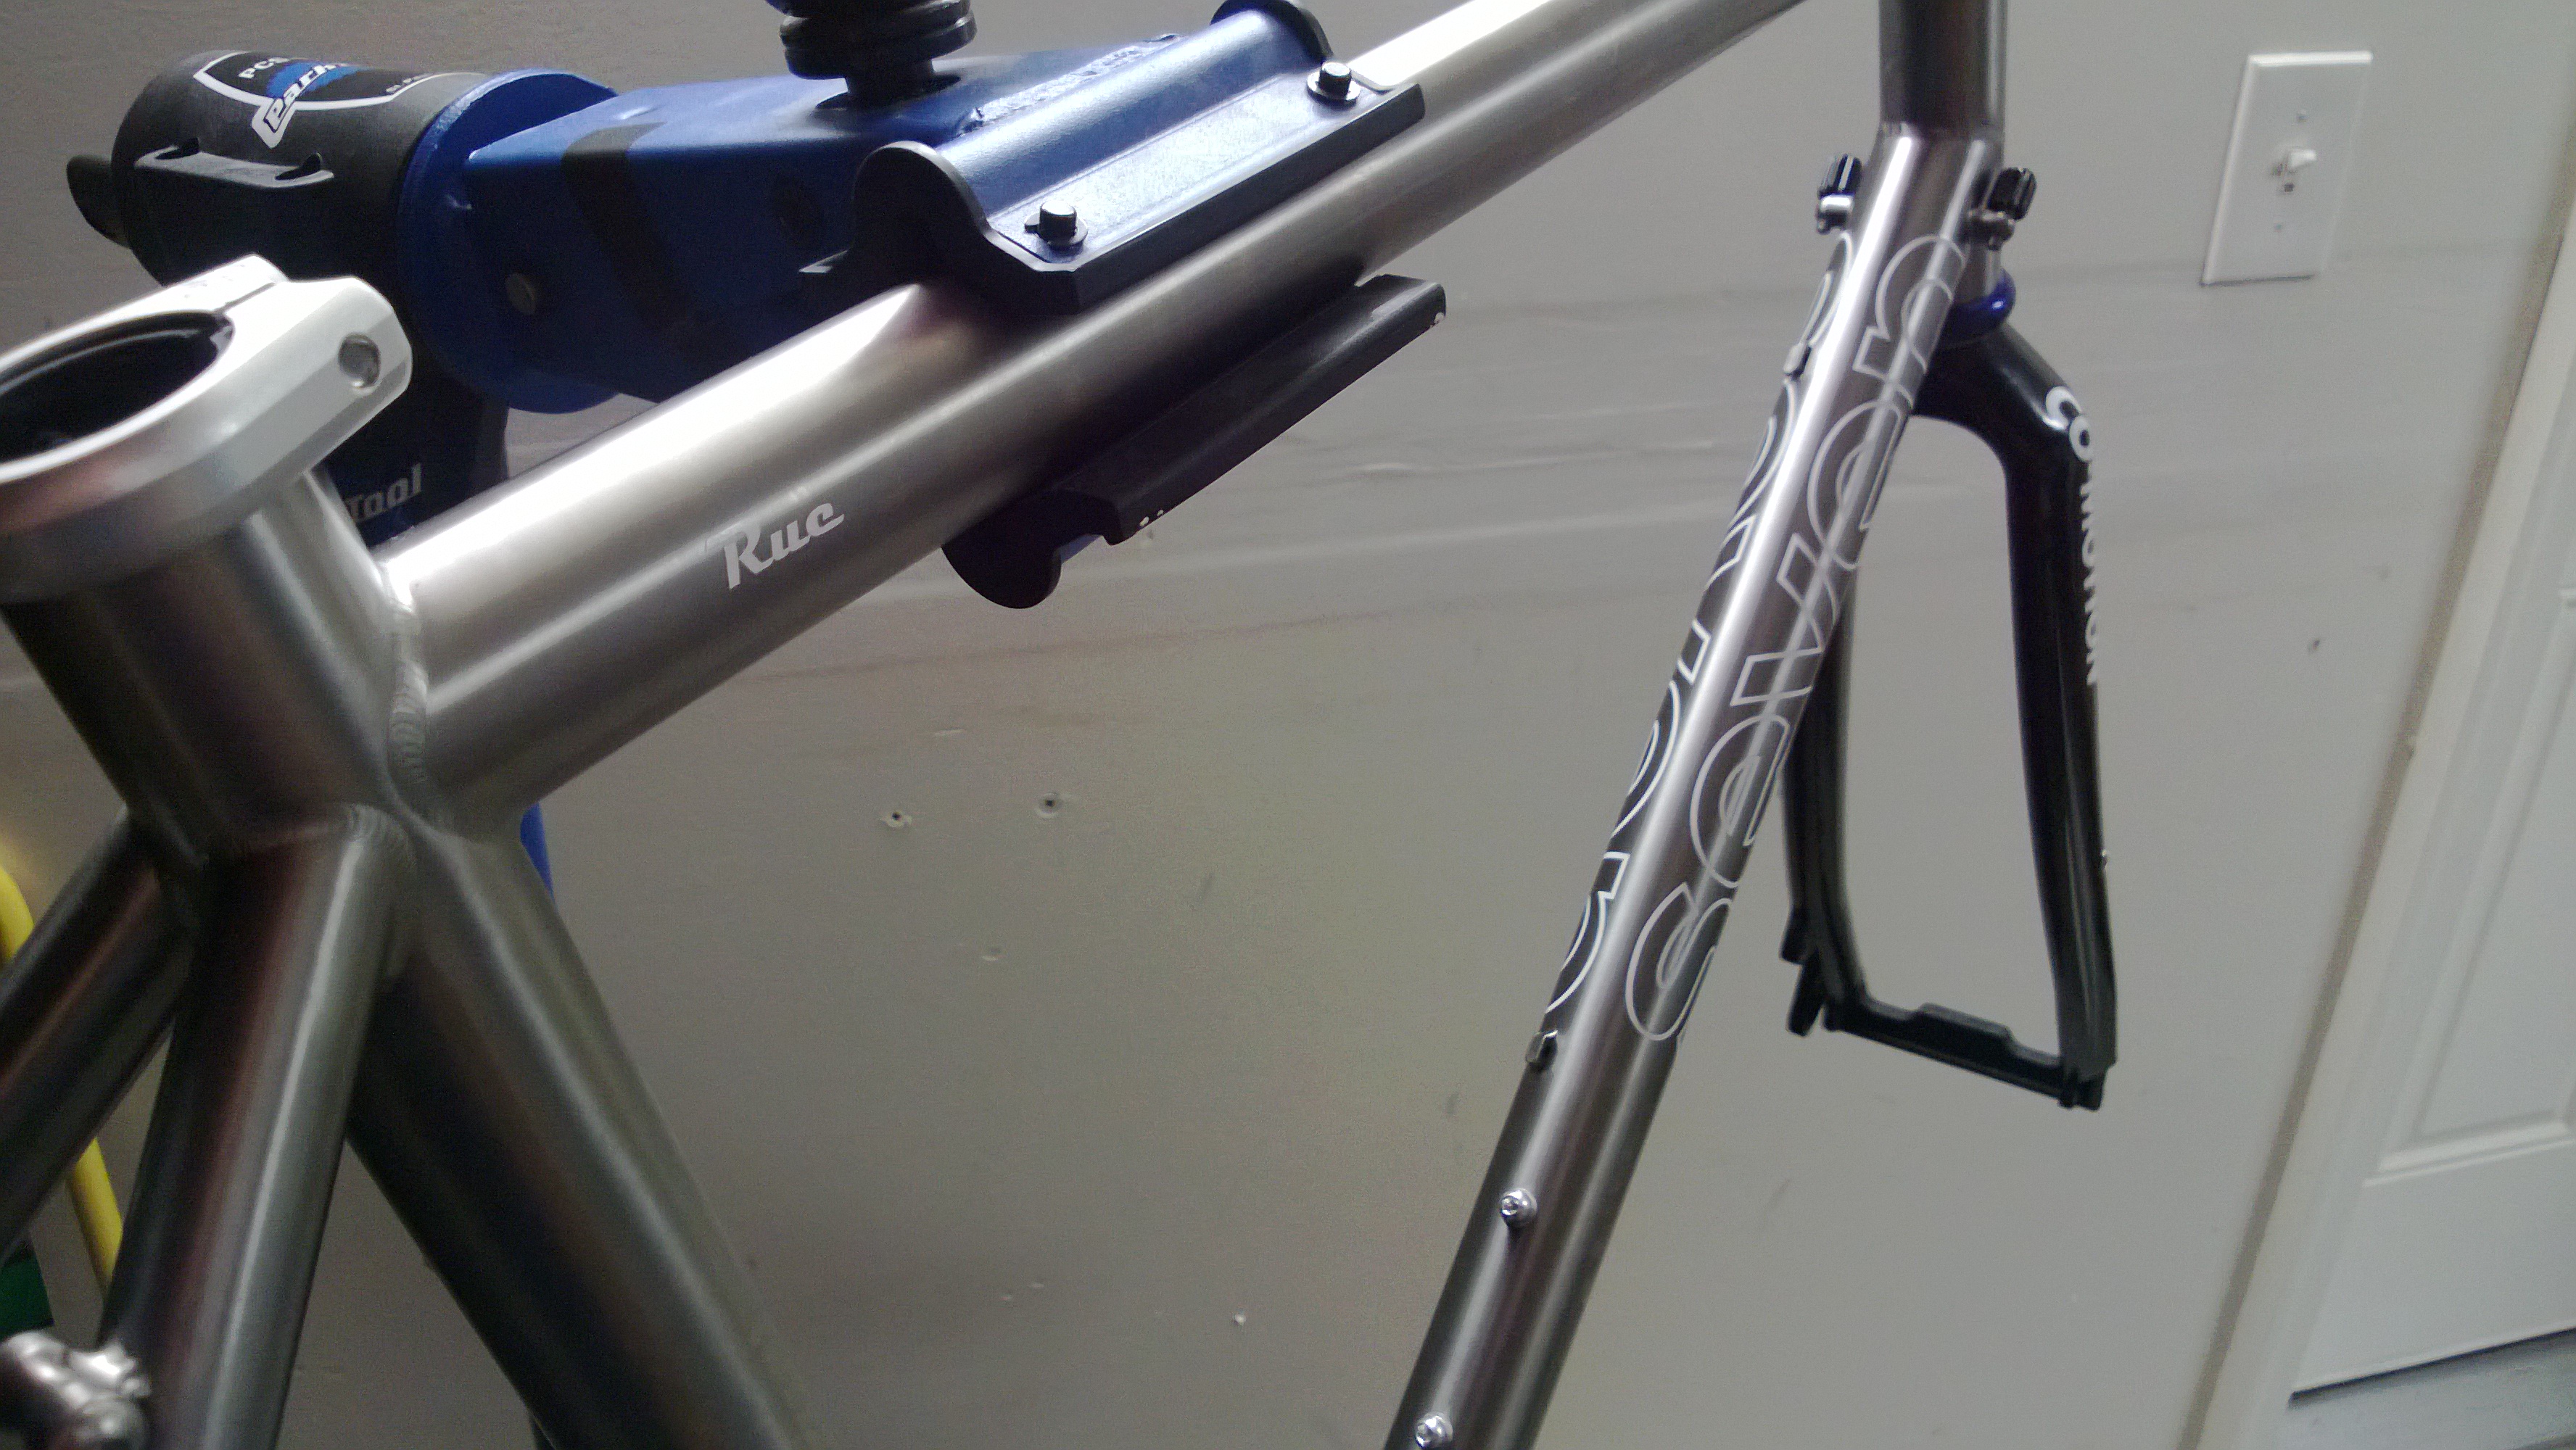
The Seven process for building out a frame is pretty slick. They knew how to ask the right questions to get at what type of frame would be perfect for my riding. Starting from the bike that I was riding, we talked about what I wanted to be different and what I didn’t want to change. They took my body measurements, measurements from the bike I’m currently riding, and the data about the details I wanted (right down to how I wanted my cables routed and where did I want my water bottles) and created a plan. They build in a few steps to double-check that they get things right (like the folks at the Seven Cycles calling to confirm details with you before they build) which is good – because we caught a couple pretty major issues before they made it to production. I made their lives more complicated by planning to build out the bike myself instead of having CBS build it for me. I think this caused us all more trouble than if I had just had them source the parts and build out the bike myself, but I really wanted to do the build myself to learn how to do it & also save a few bucks on the parts. In the end, I ended up basing my build off of the Seven Mudhoney/Expat basic titanium frame and adding my own flair.
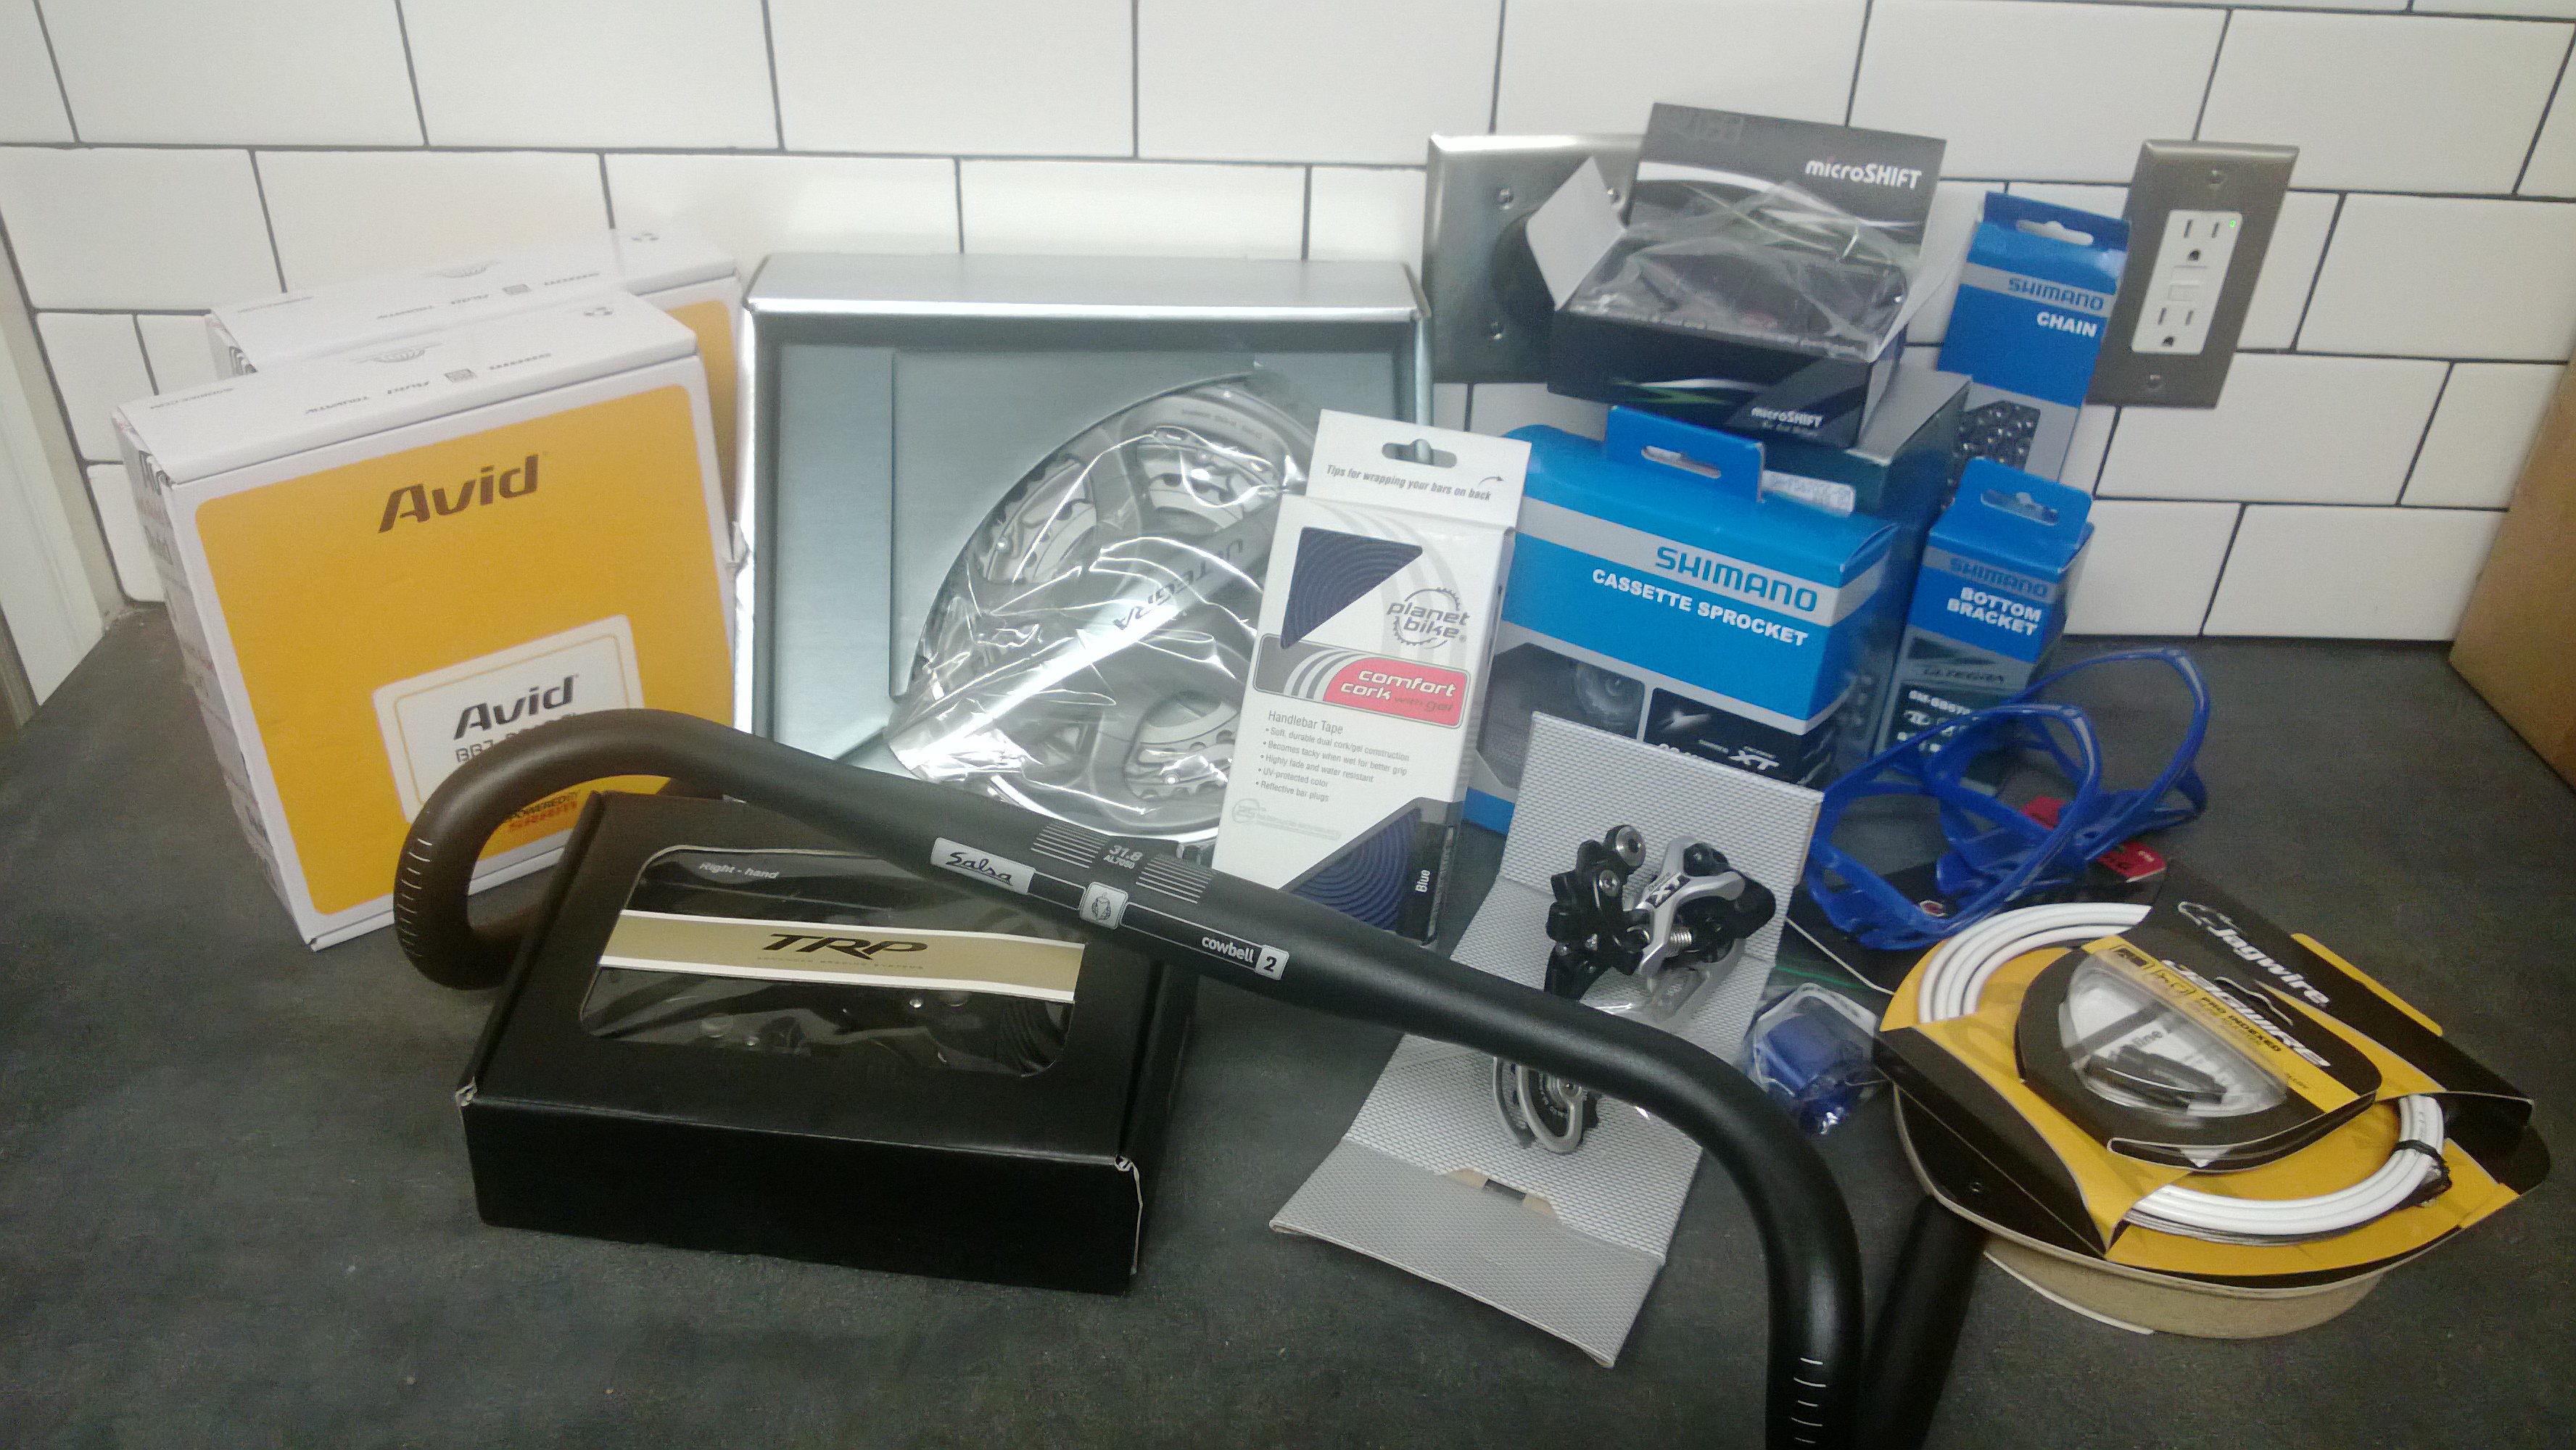
Parting it out.
I’ve never built a bike before. I’ve never bought all the parts for a bike before. It was an adventure that covered Amazon, Nashbar, EBay, Universal Cycles, and Greggs Cycles. I won’t bore you with the process… here’s what I ended up with for the initial build.
| Part Type | Selected Component |
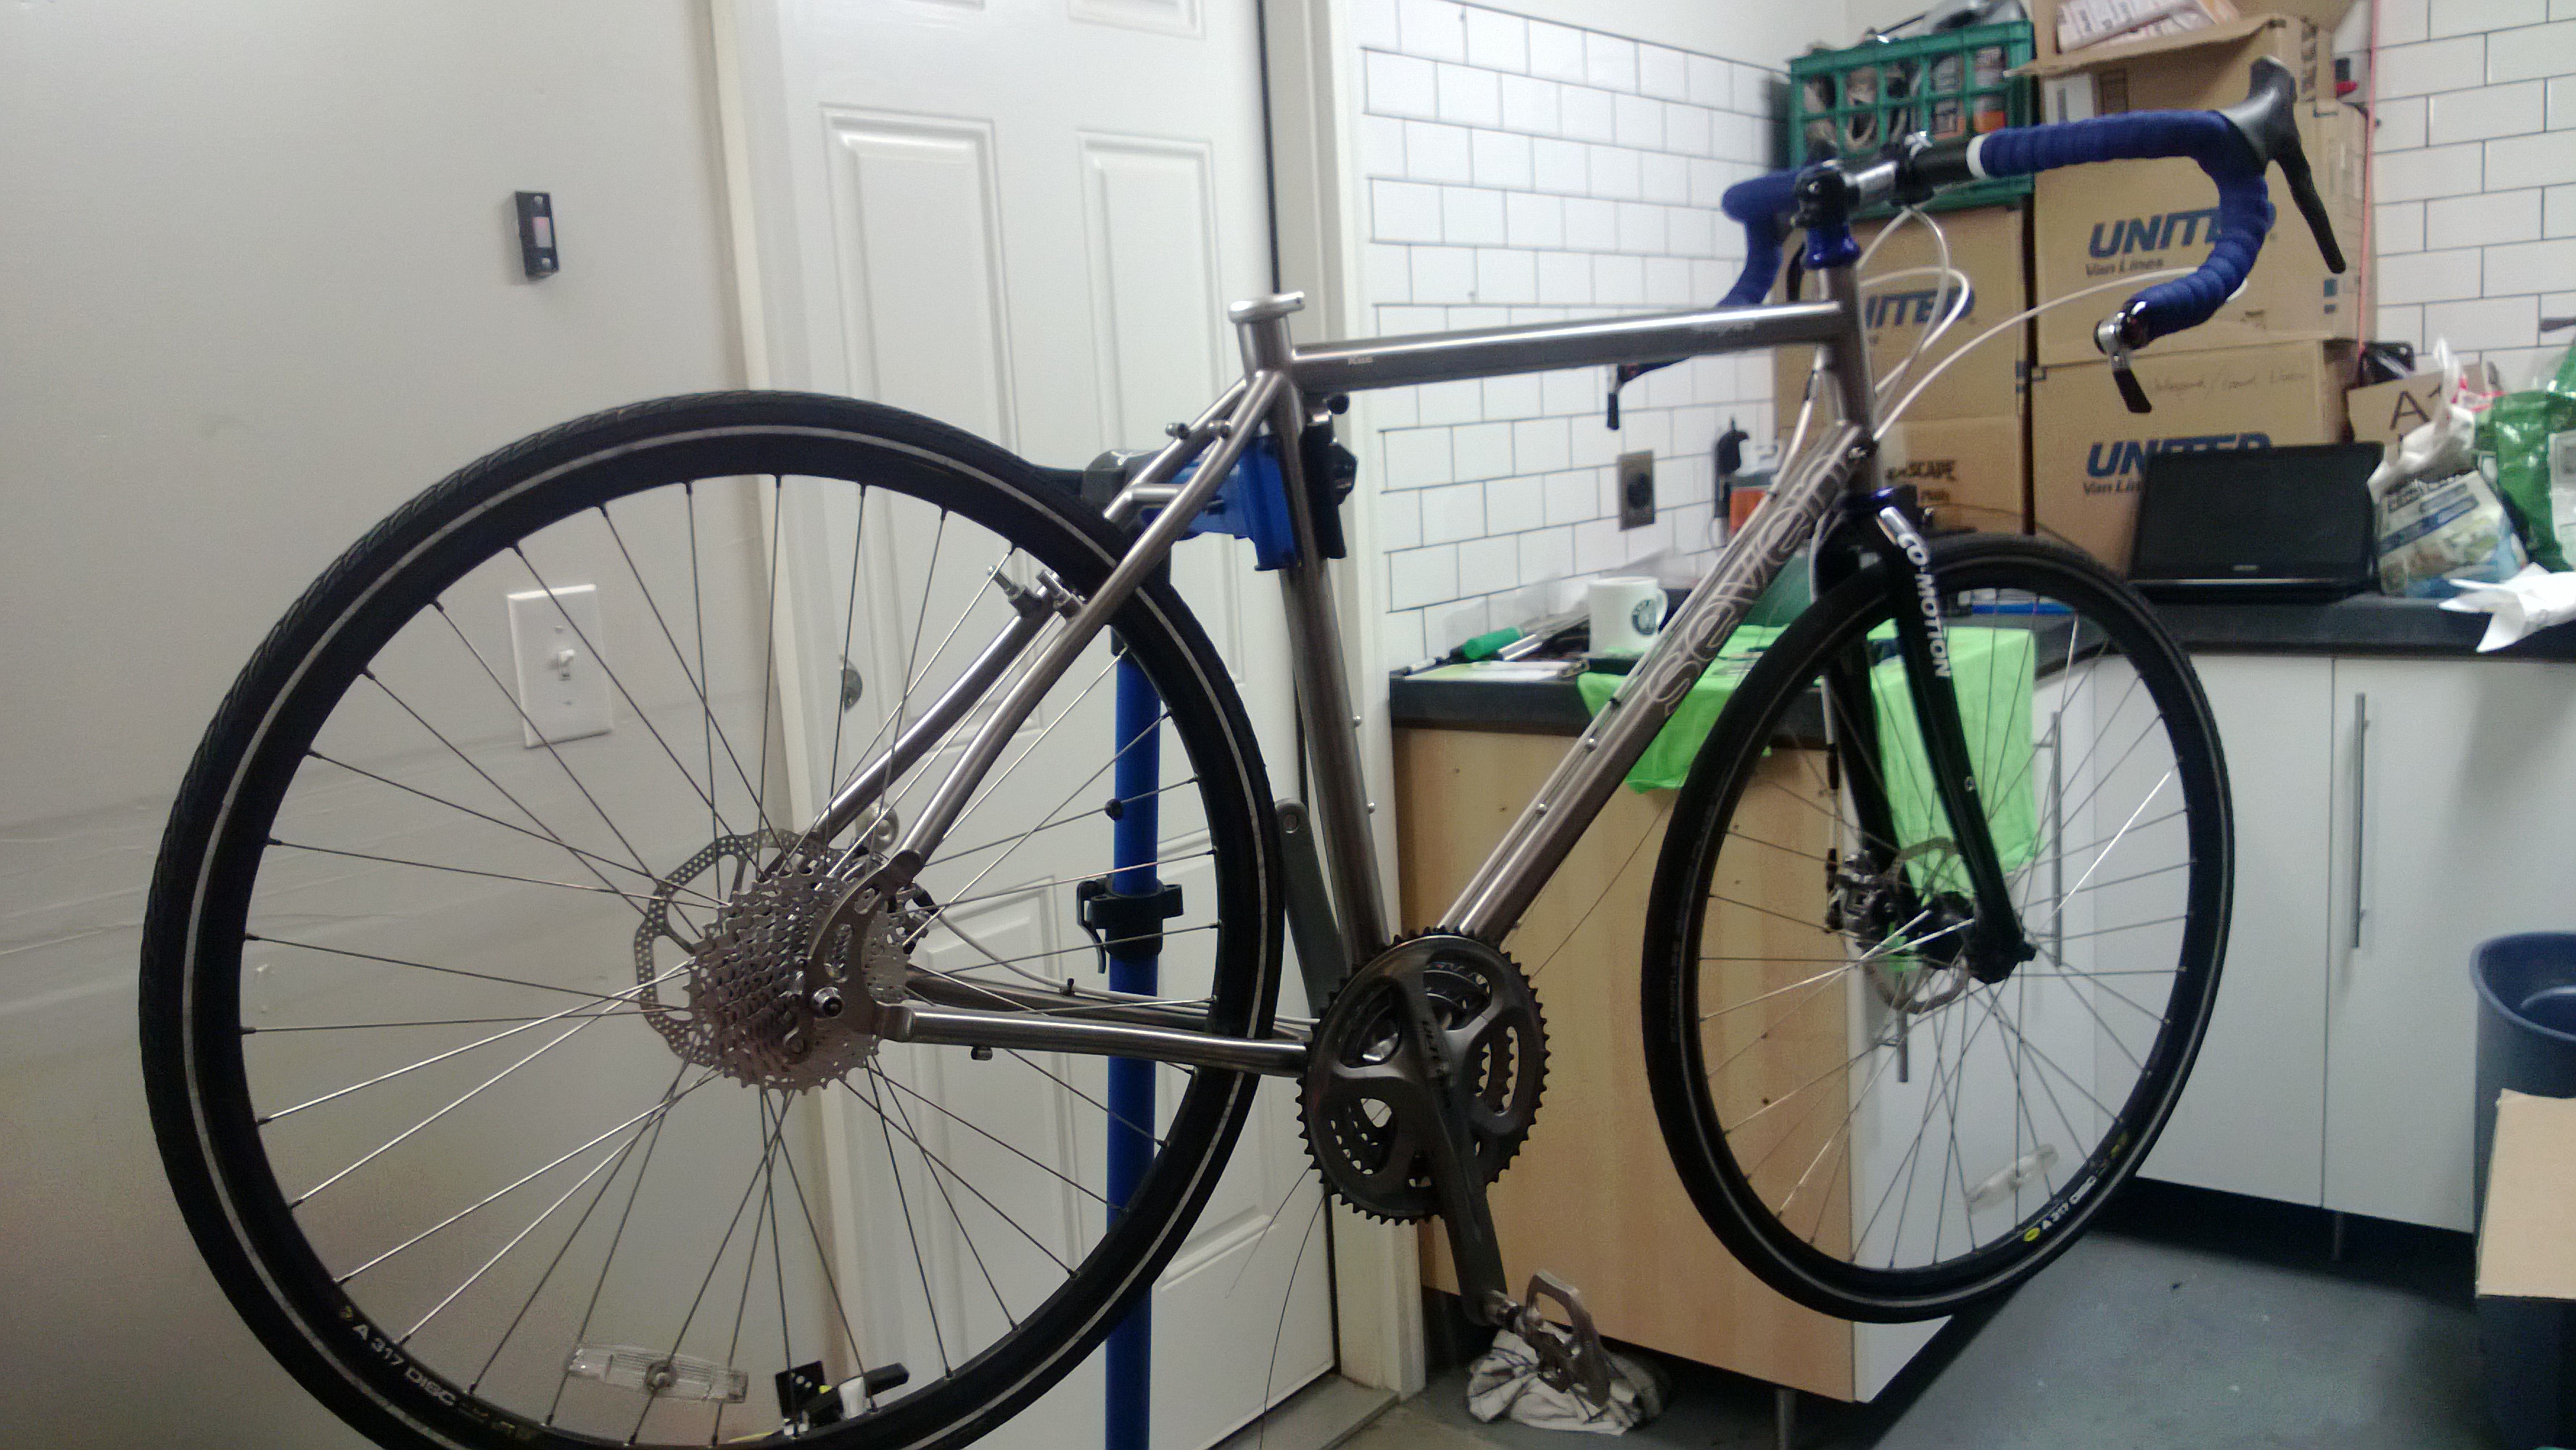
| Frame | Seven Cycles Expat Ti |
| Cables | Jagwire Hyper Brake, Derailluer Kits |
| Rear Rack | Used from Kona Sutra |
| Bar Tape | Planet Bike |
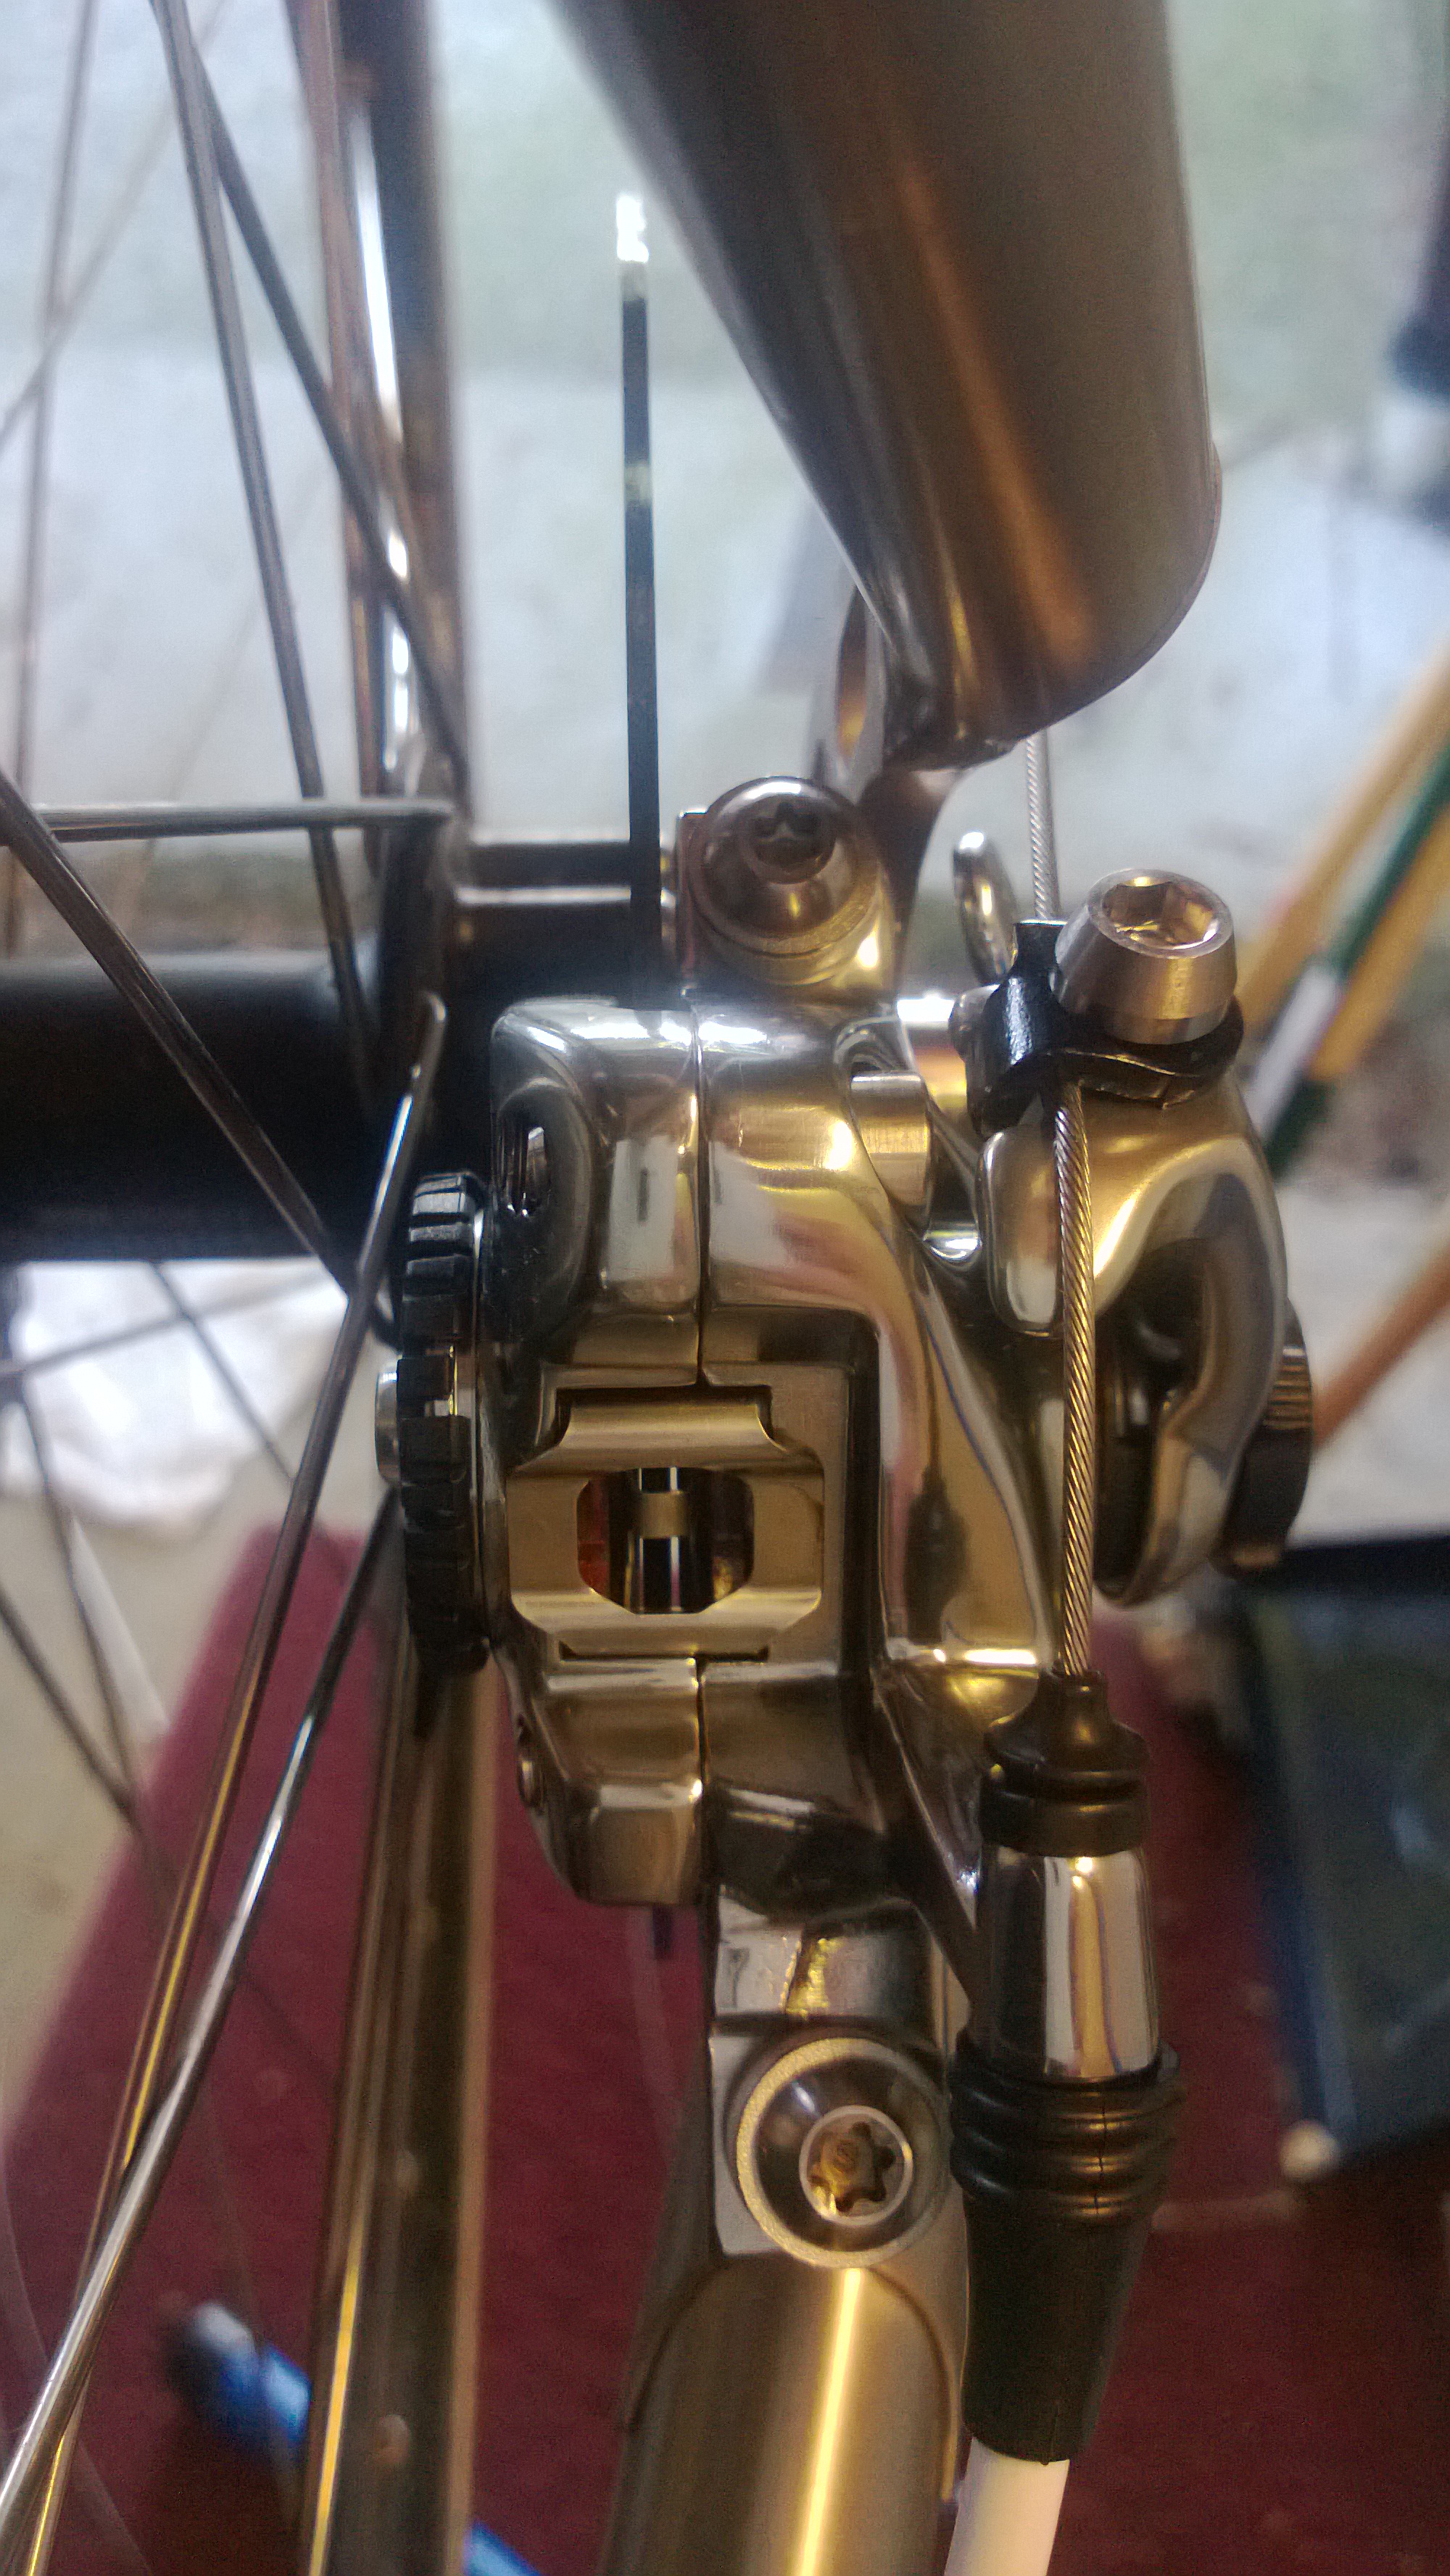
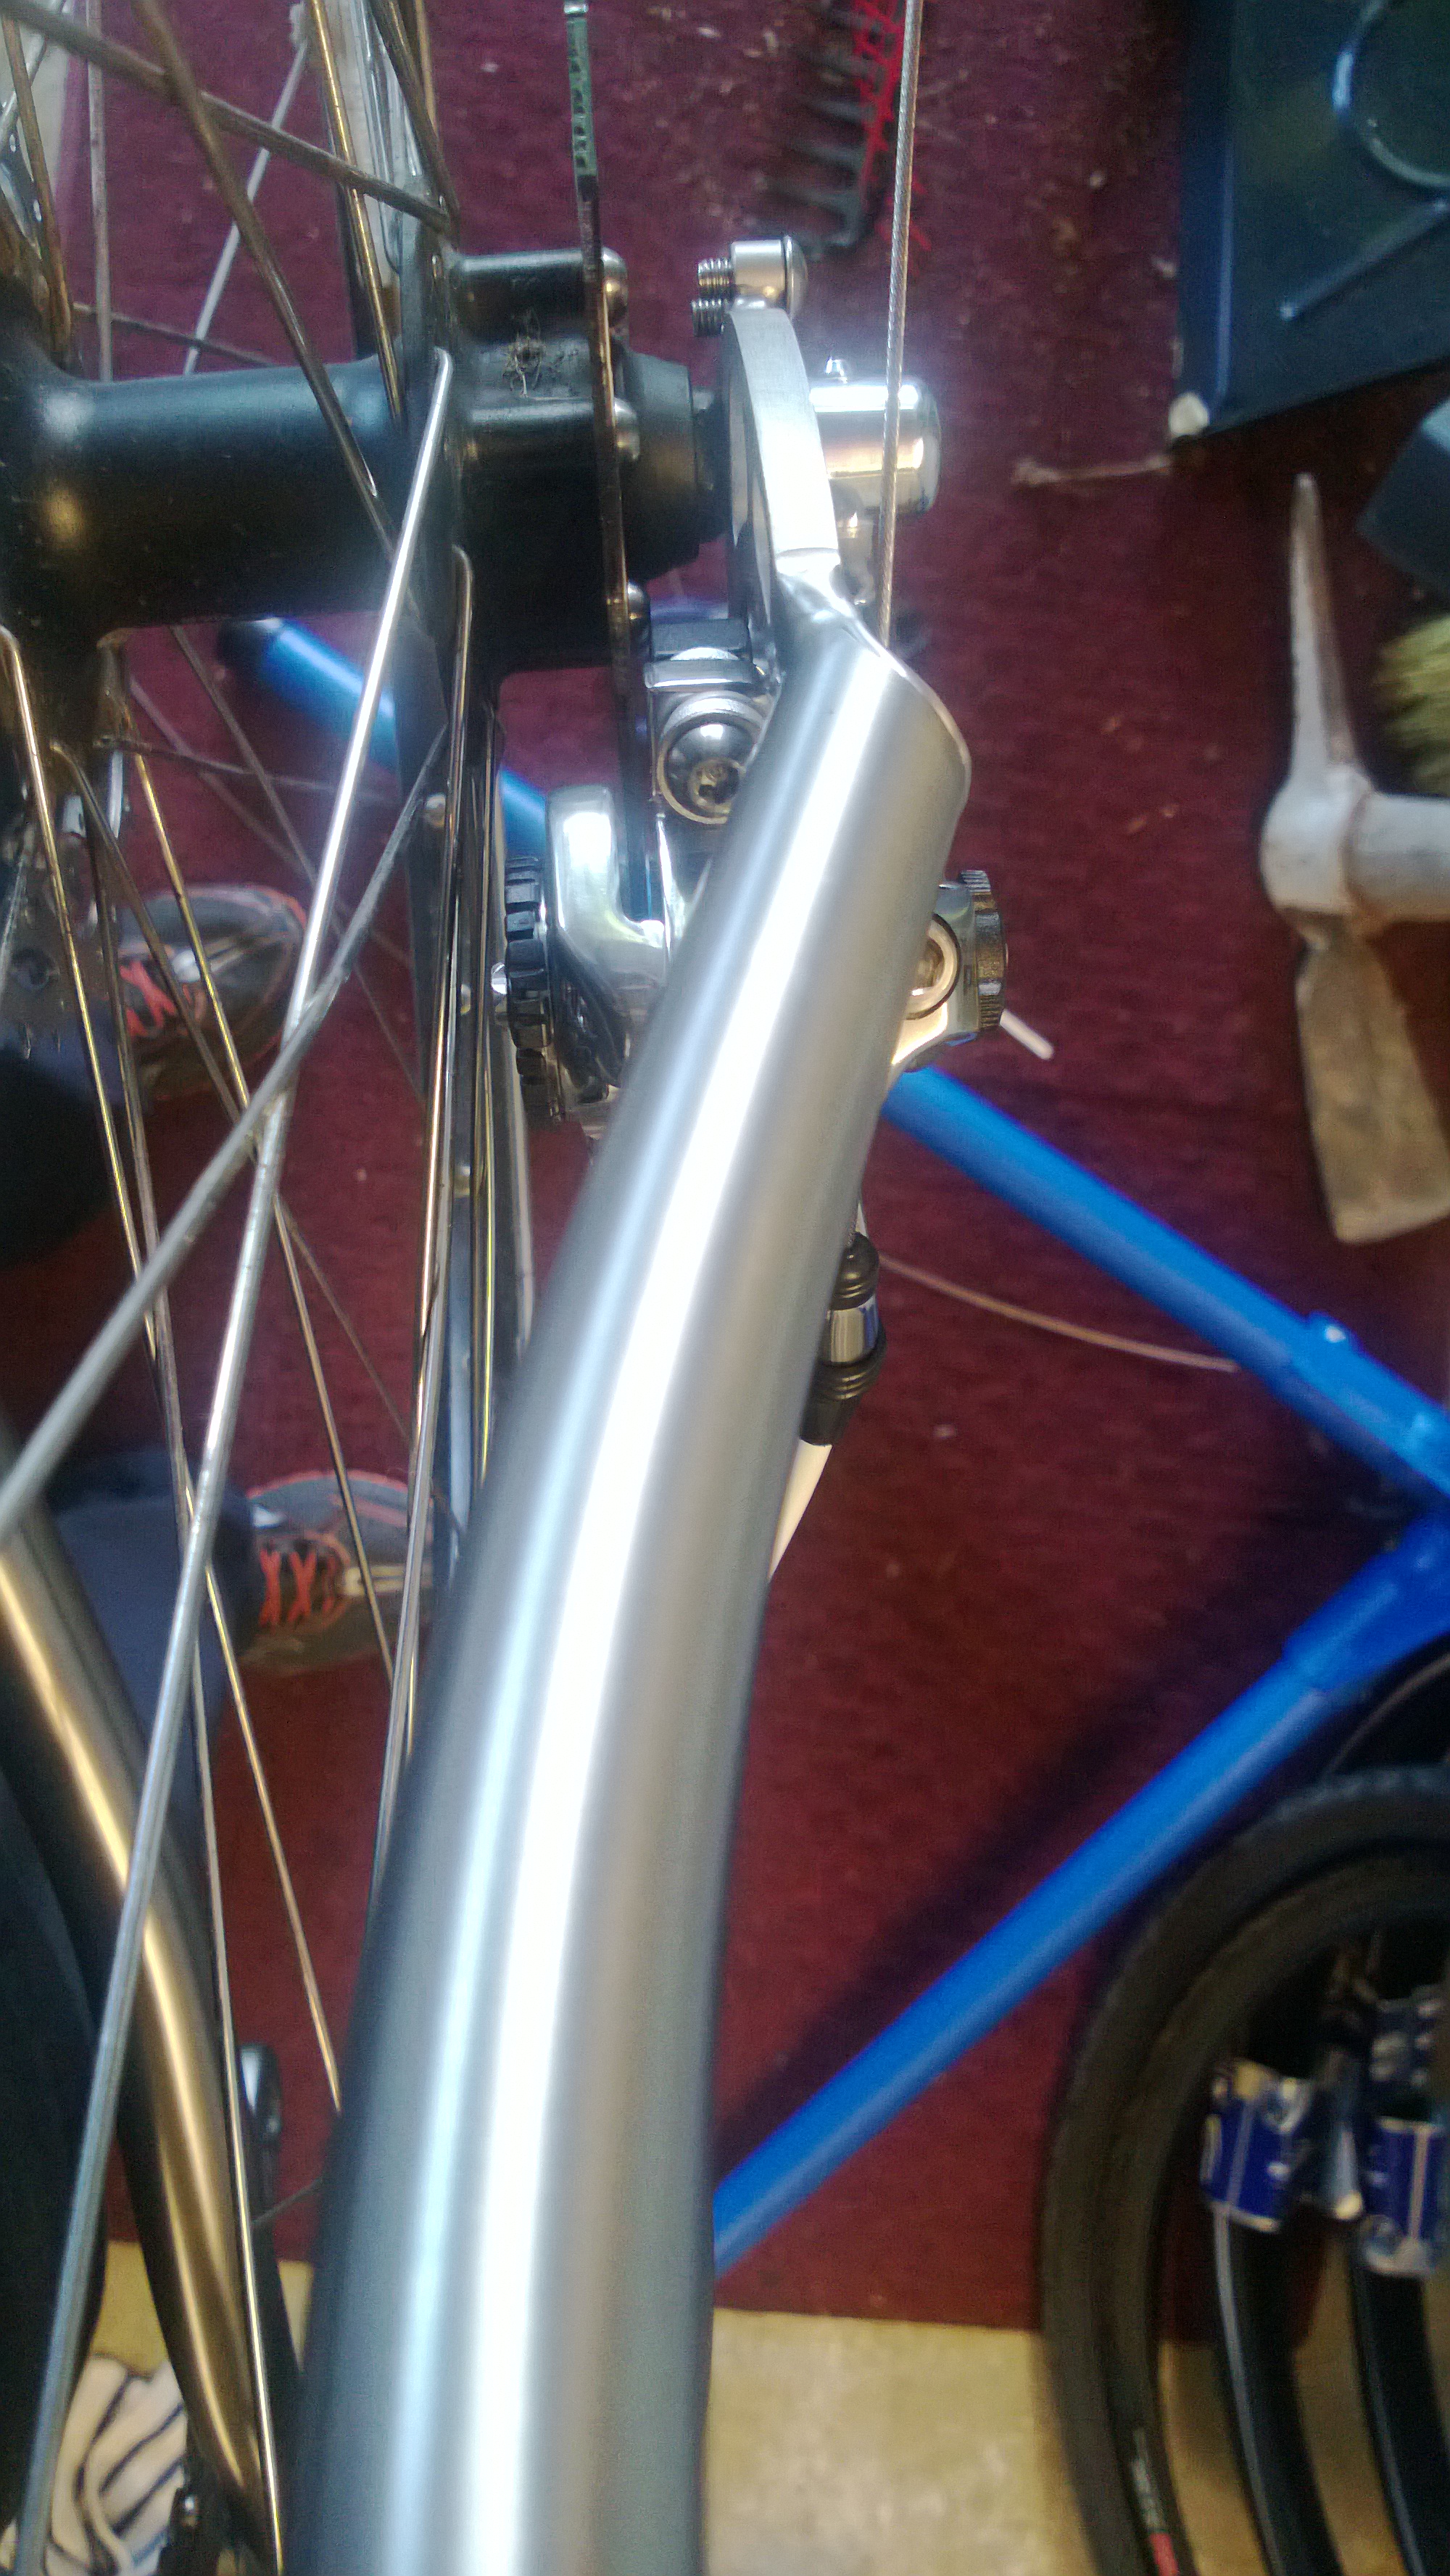
| Brakes/Rotors | Avid BB7-S Road 160mm |
| Crankset | Shimano Ultegra 6703 |
| Derailleur Front | Shimano Ultegra FD-6703 Front Derailleur Triple |
| Derailleur Rear | Shimano SGS 772 Shadow Rear Derailleur |
| Shifters | Microshift Barend 10 speed |
| Bottom Bracket | Shimano Ultegra |
| Fork | CoMotion Carbon Touring |
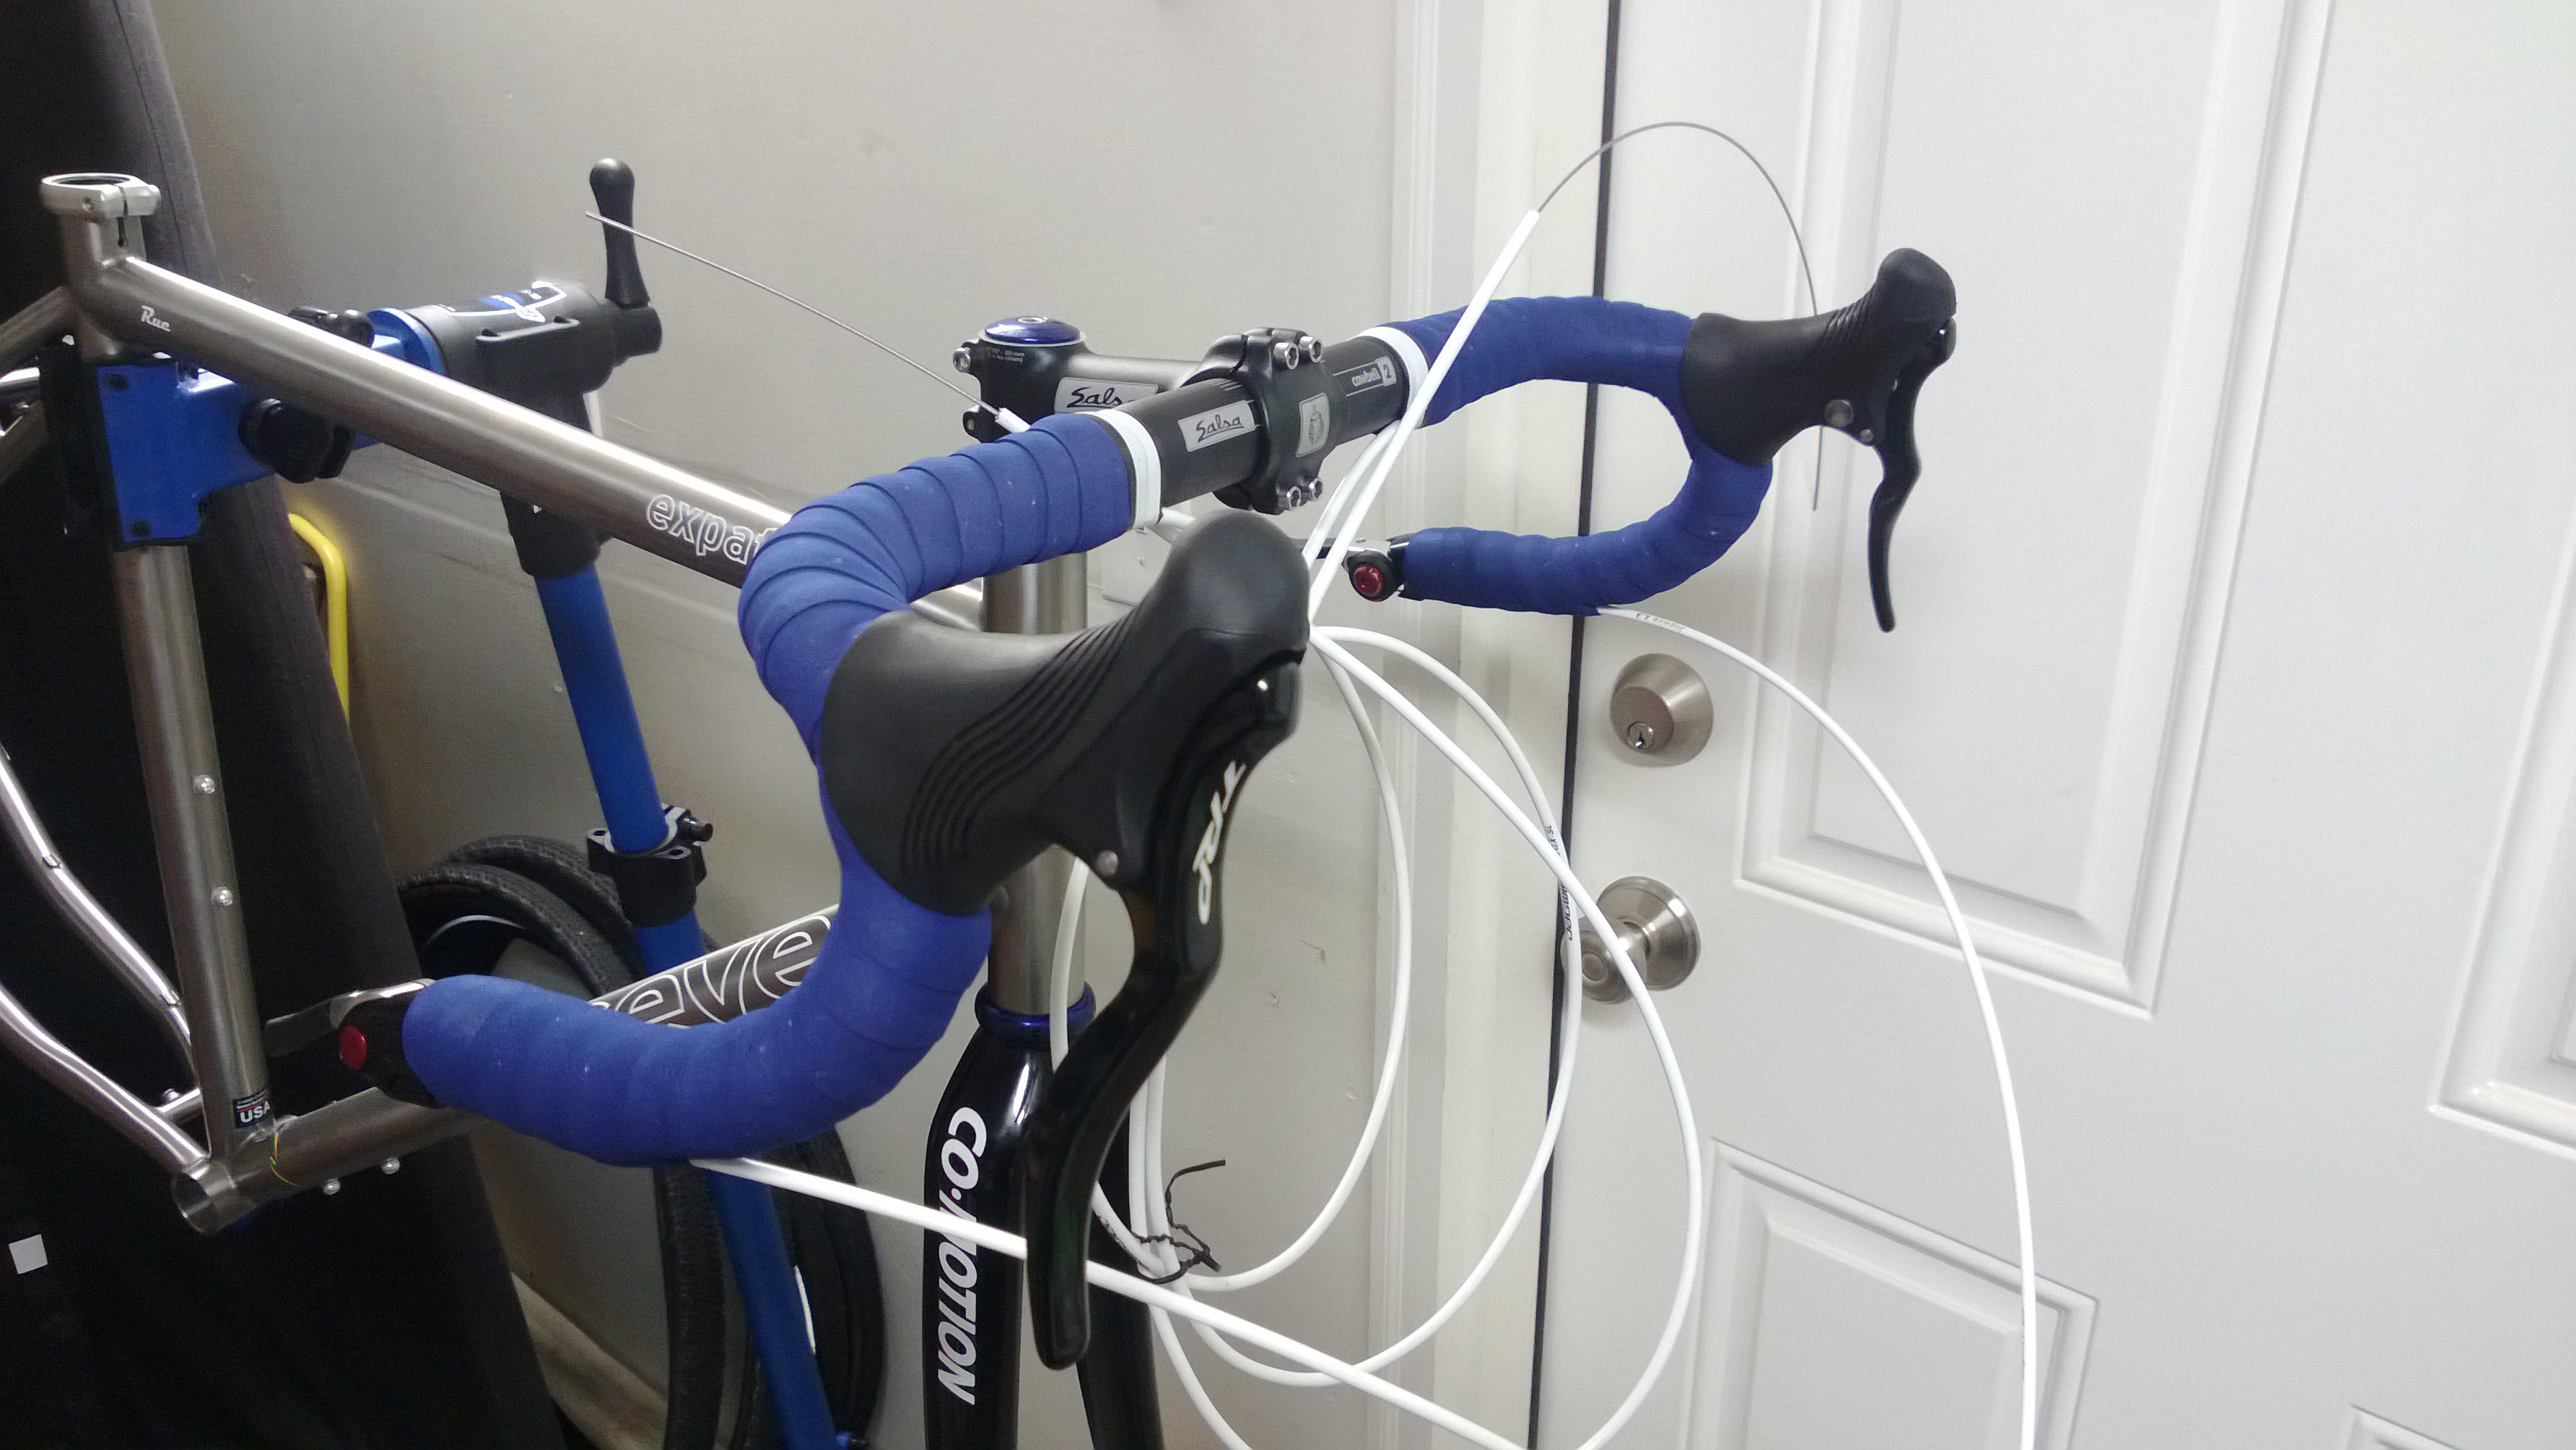
| Handlebars | Salsa Cowbell 2 (46cm) |
| Headset | Chris King (Sotto Voce Navy) |
| Wheel Hubs/Rims | Mavics (reused from Kona Sutra) |
| Brake Levers | TRP RRL |
| Cassette | Shimano DX 11-34T 10 speed |
| Chain | Shimano DX 10-speed |
| Stem | Salsa |
| Tires | Schwalbe Marathons (700c-28mm) |
| Pedals | Shimano PD-A540 (platform on one side, clipless on the other) |
| Saddle | Well-worn Brooks B-17 |
| Seatpost | Thompson |
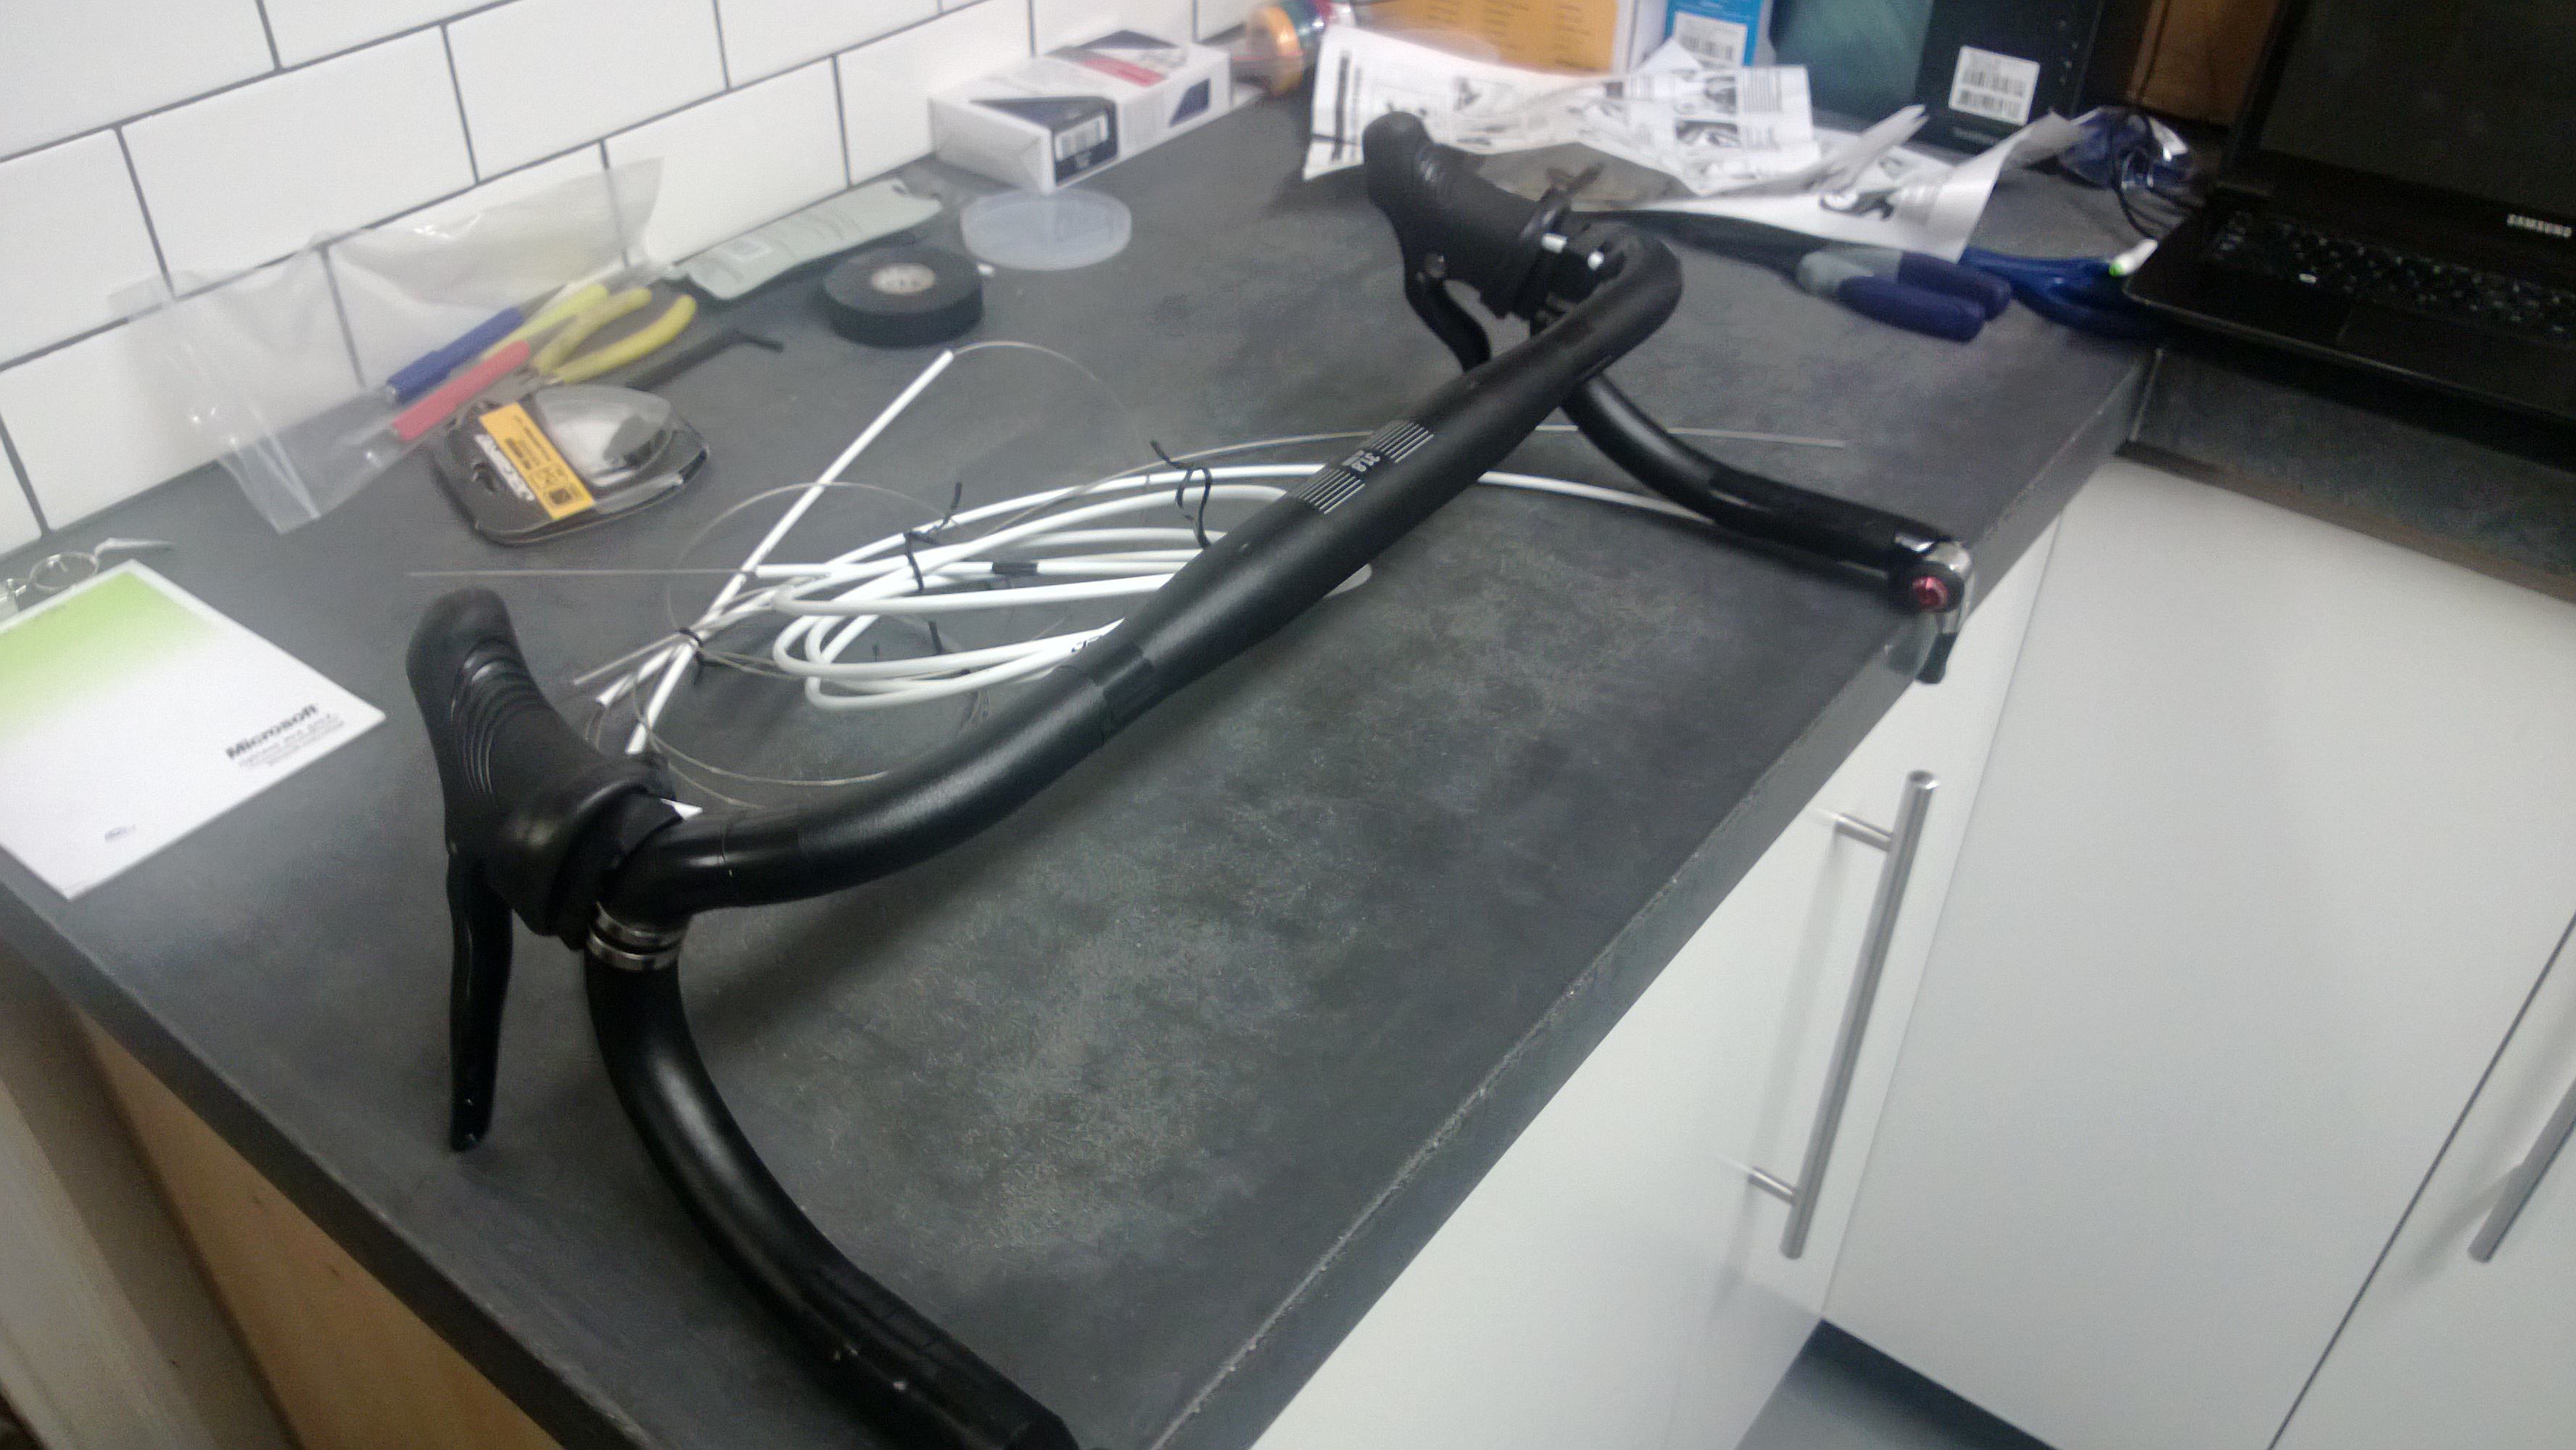
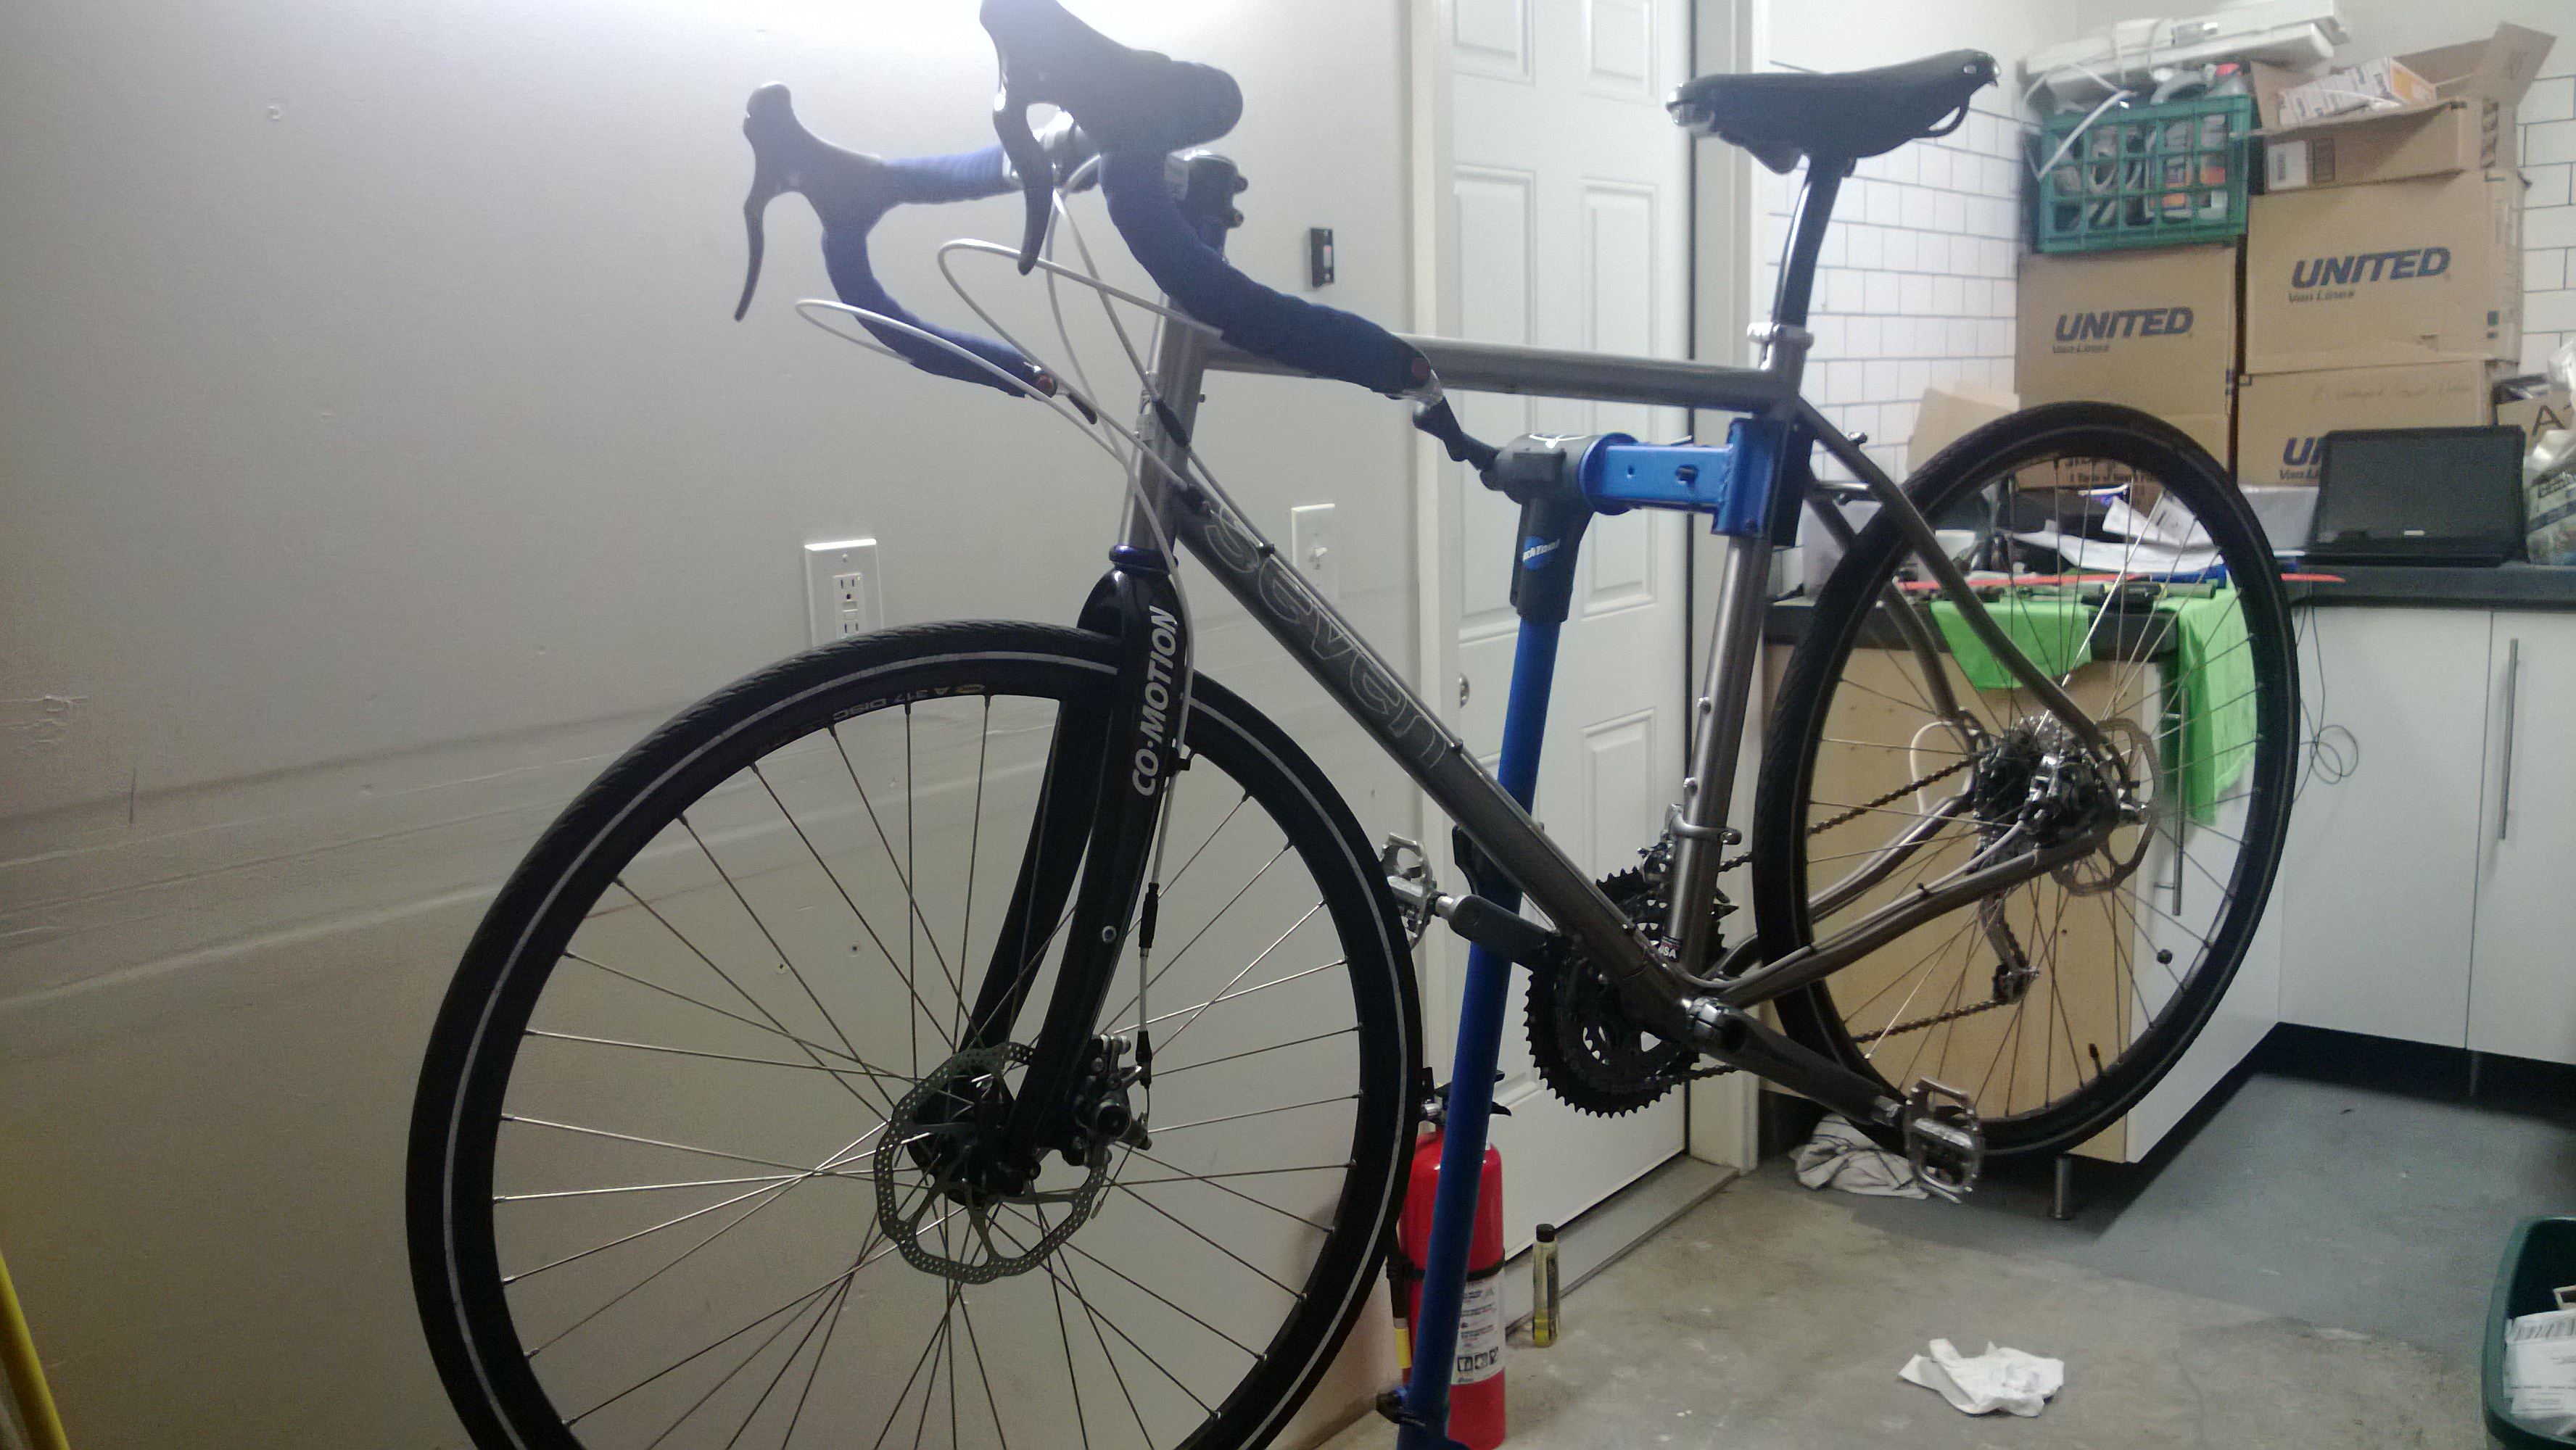
Putting it all together.
Once I got everything in hand, the build out actually went better than I thought it would. I have to give a lot of credit to the Park Tool Blog’s “New Bike Assembly” instructions. In particular, this video series in “Calvin’s Corner” on How to Build a Bike was a one of the best guides for me (as someone familiar with bike mechanics, but not with the details of a new assembly).
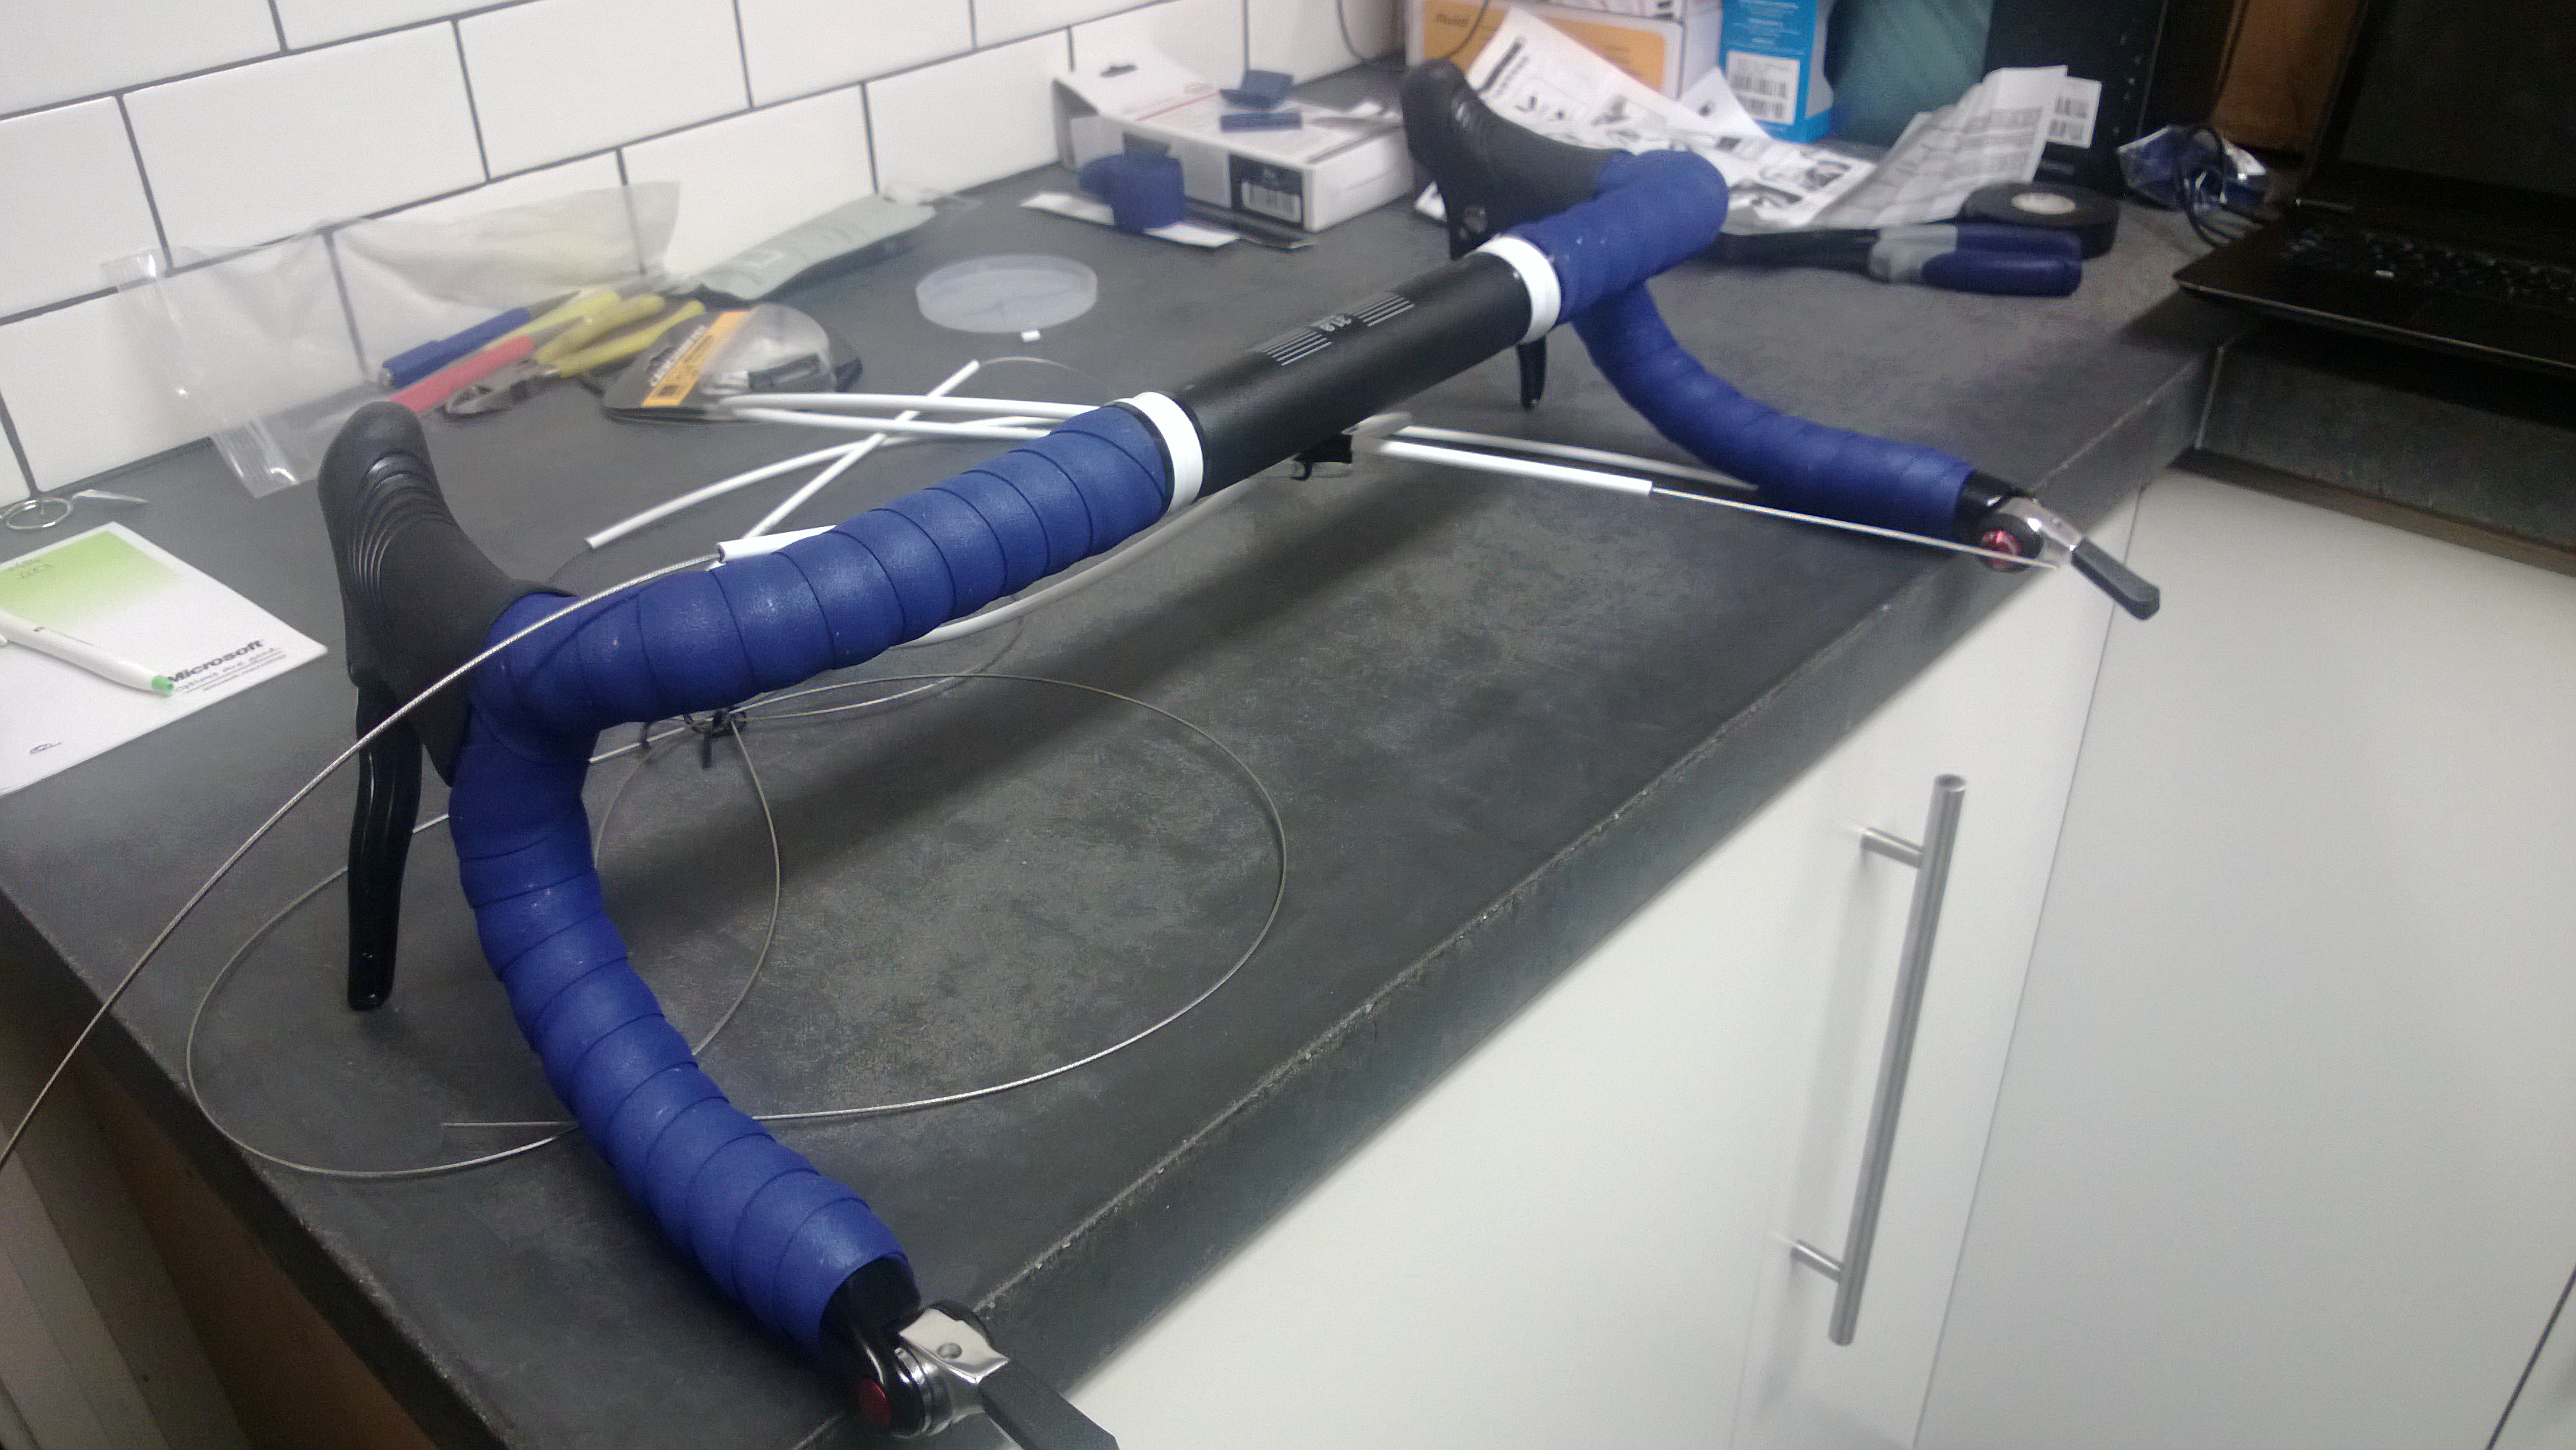
I started with the cockpit… I was nervous about wrapping the handlebar tape, having never done it, but it turned out pretty easy to do.
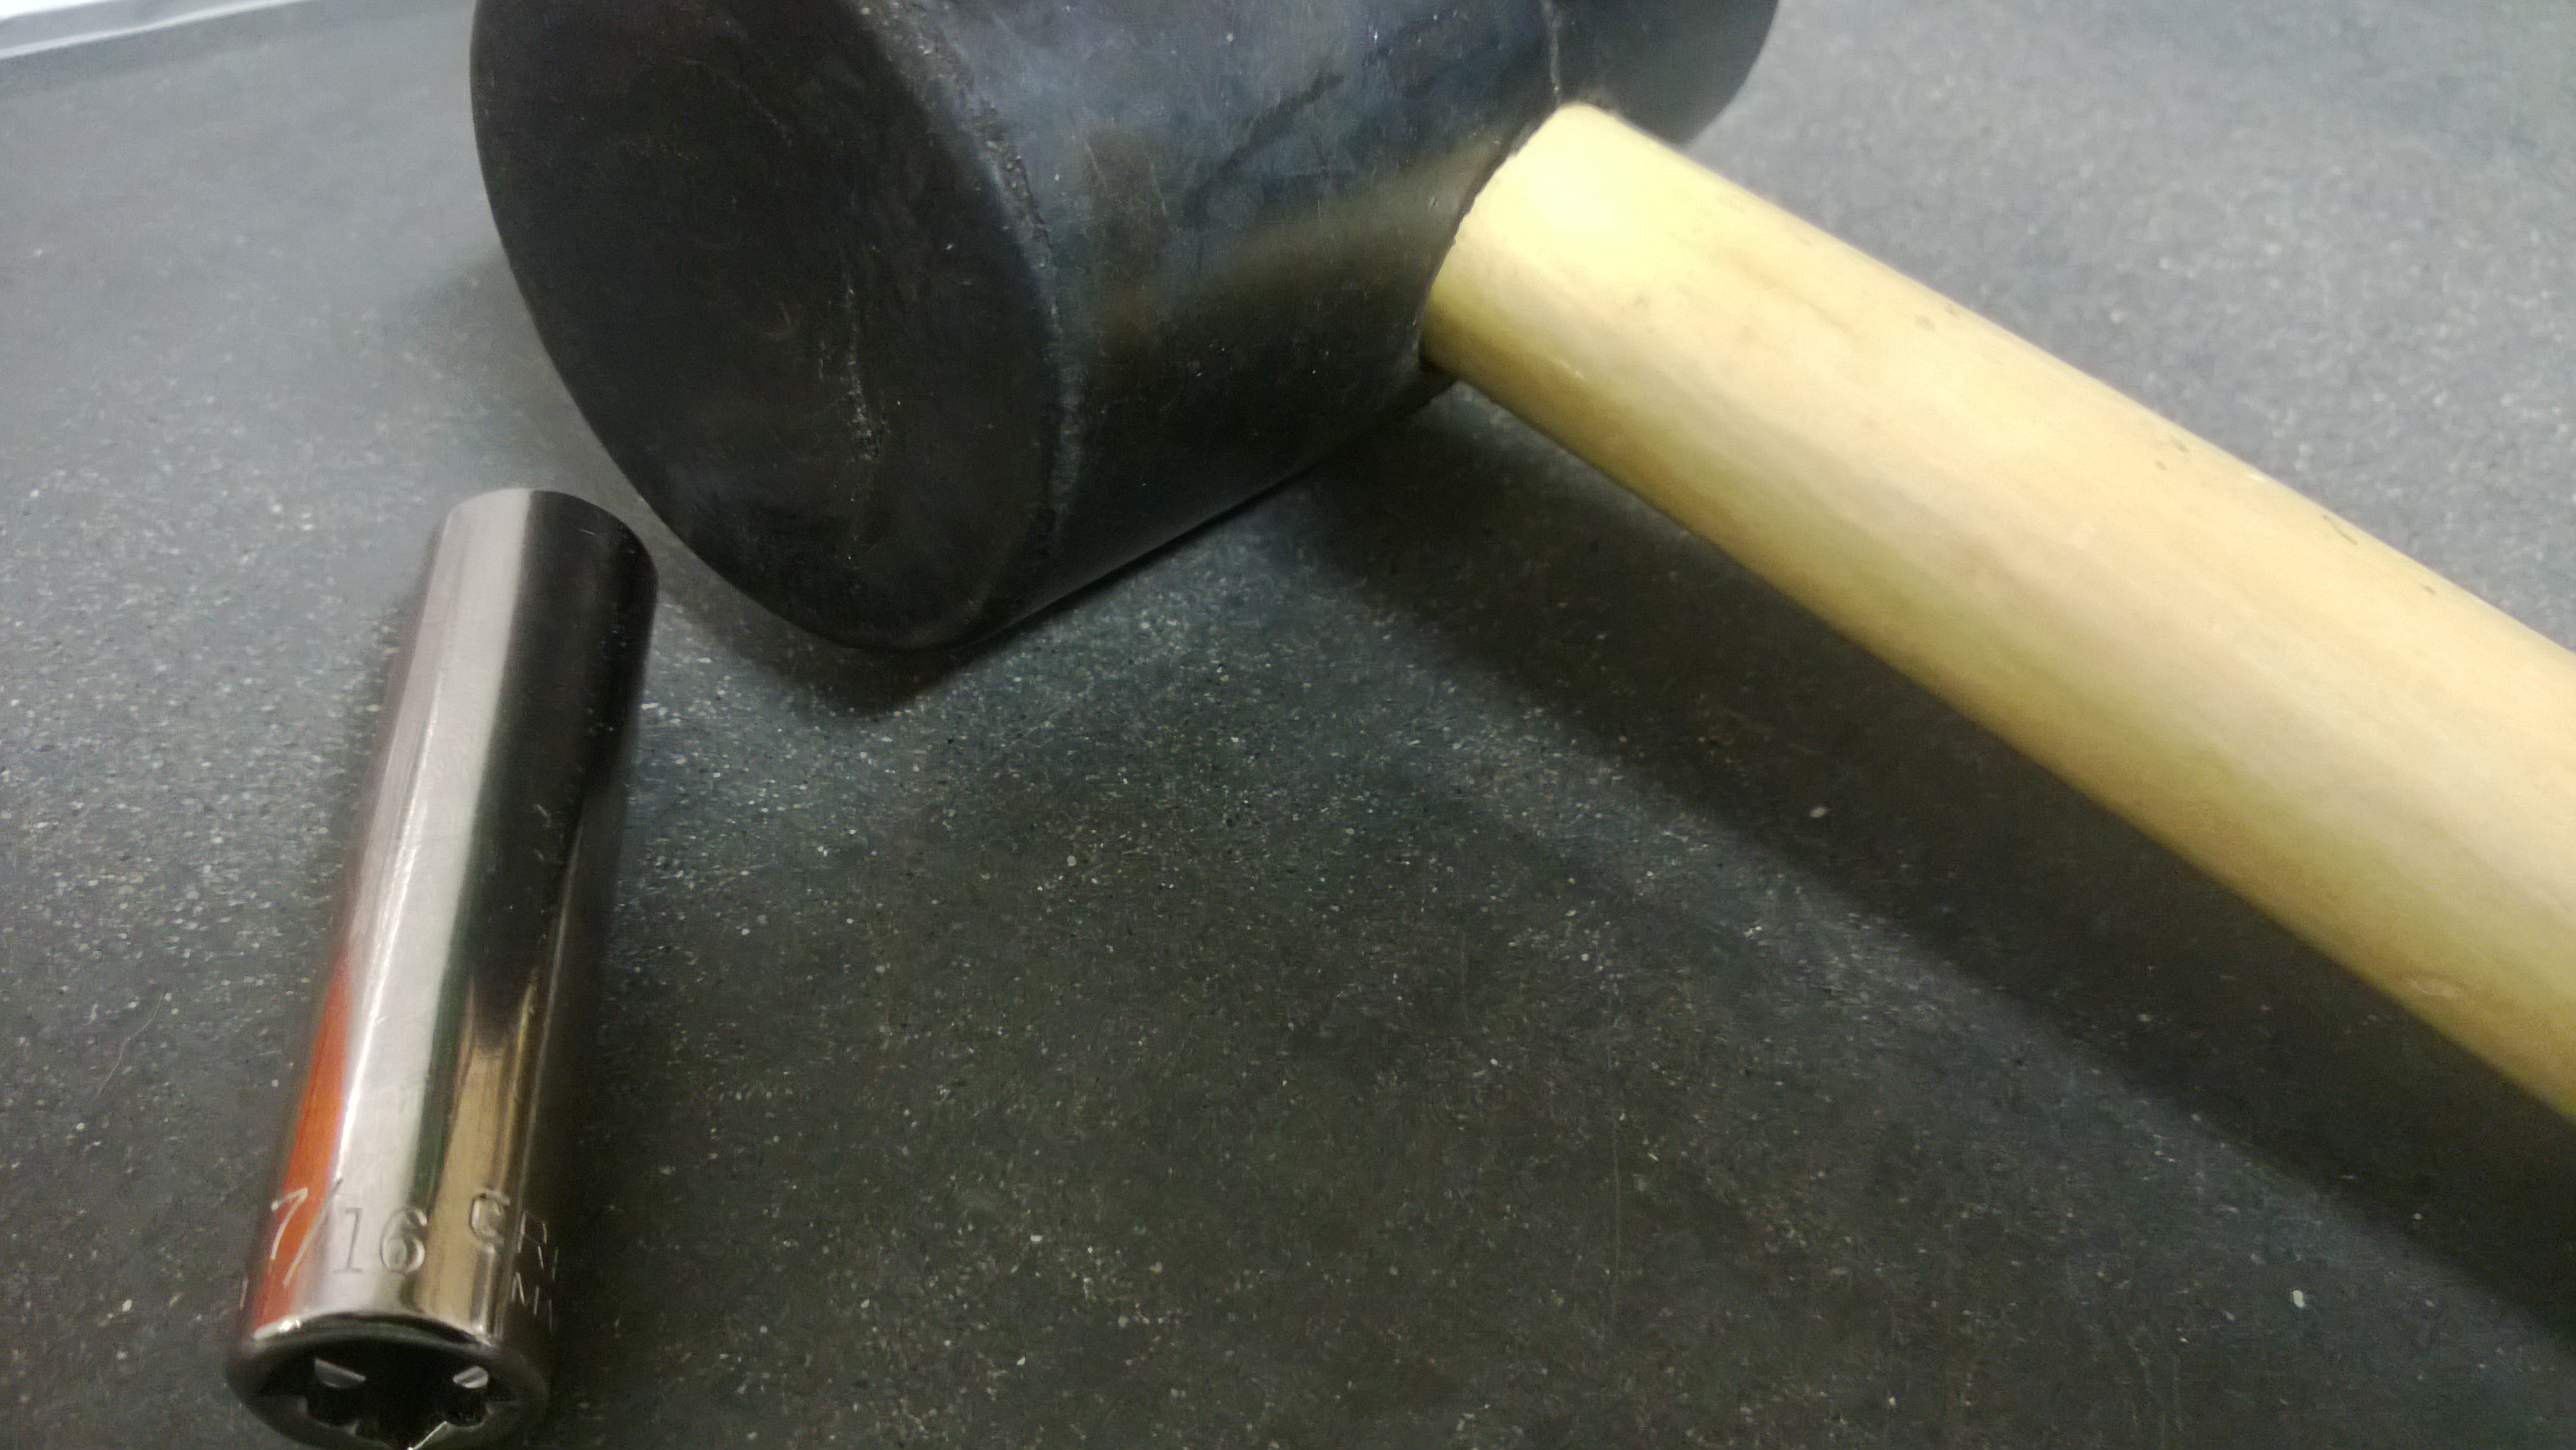
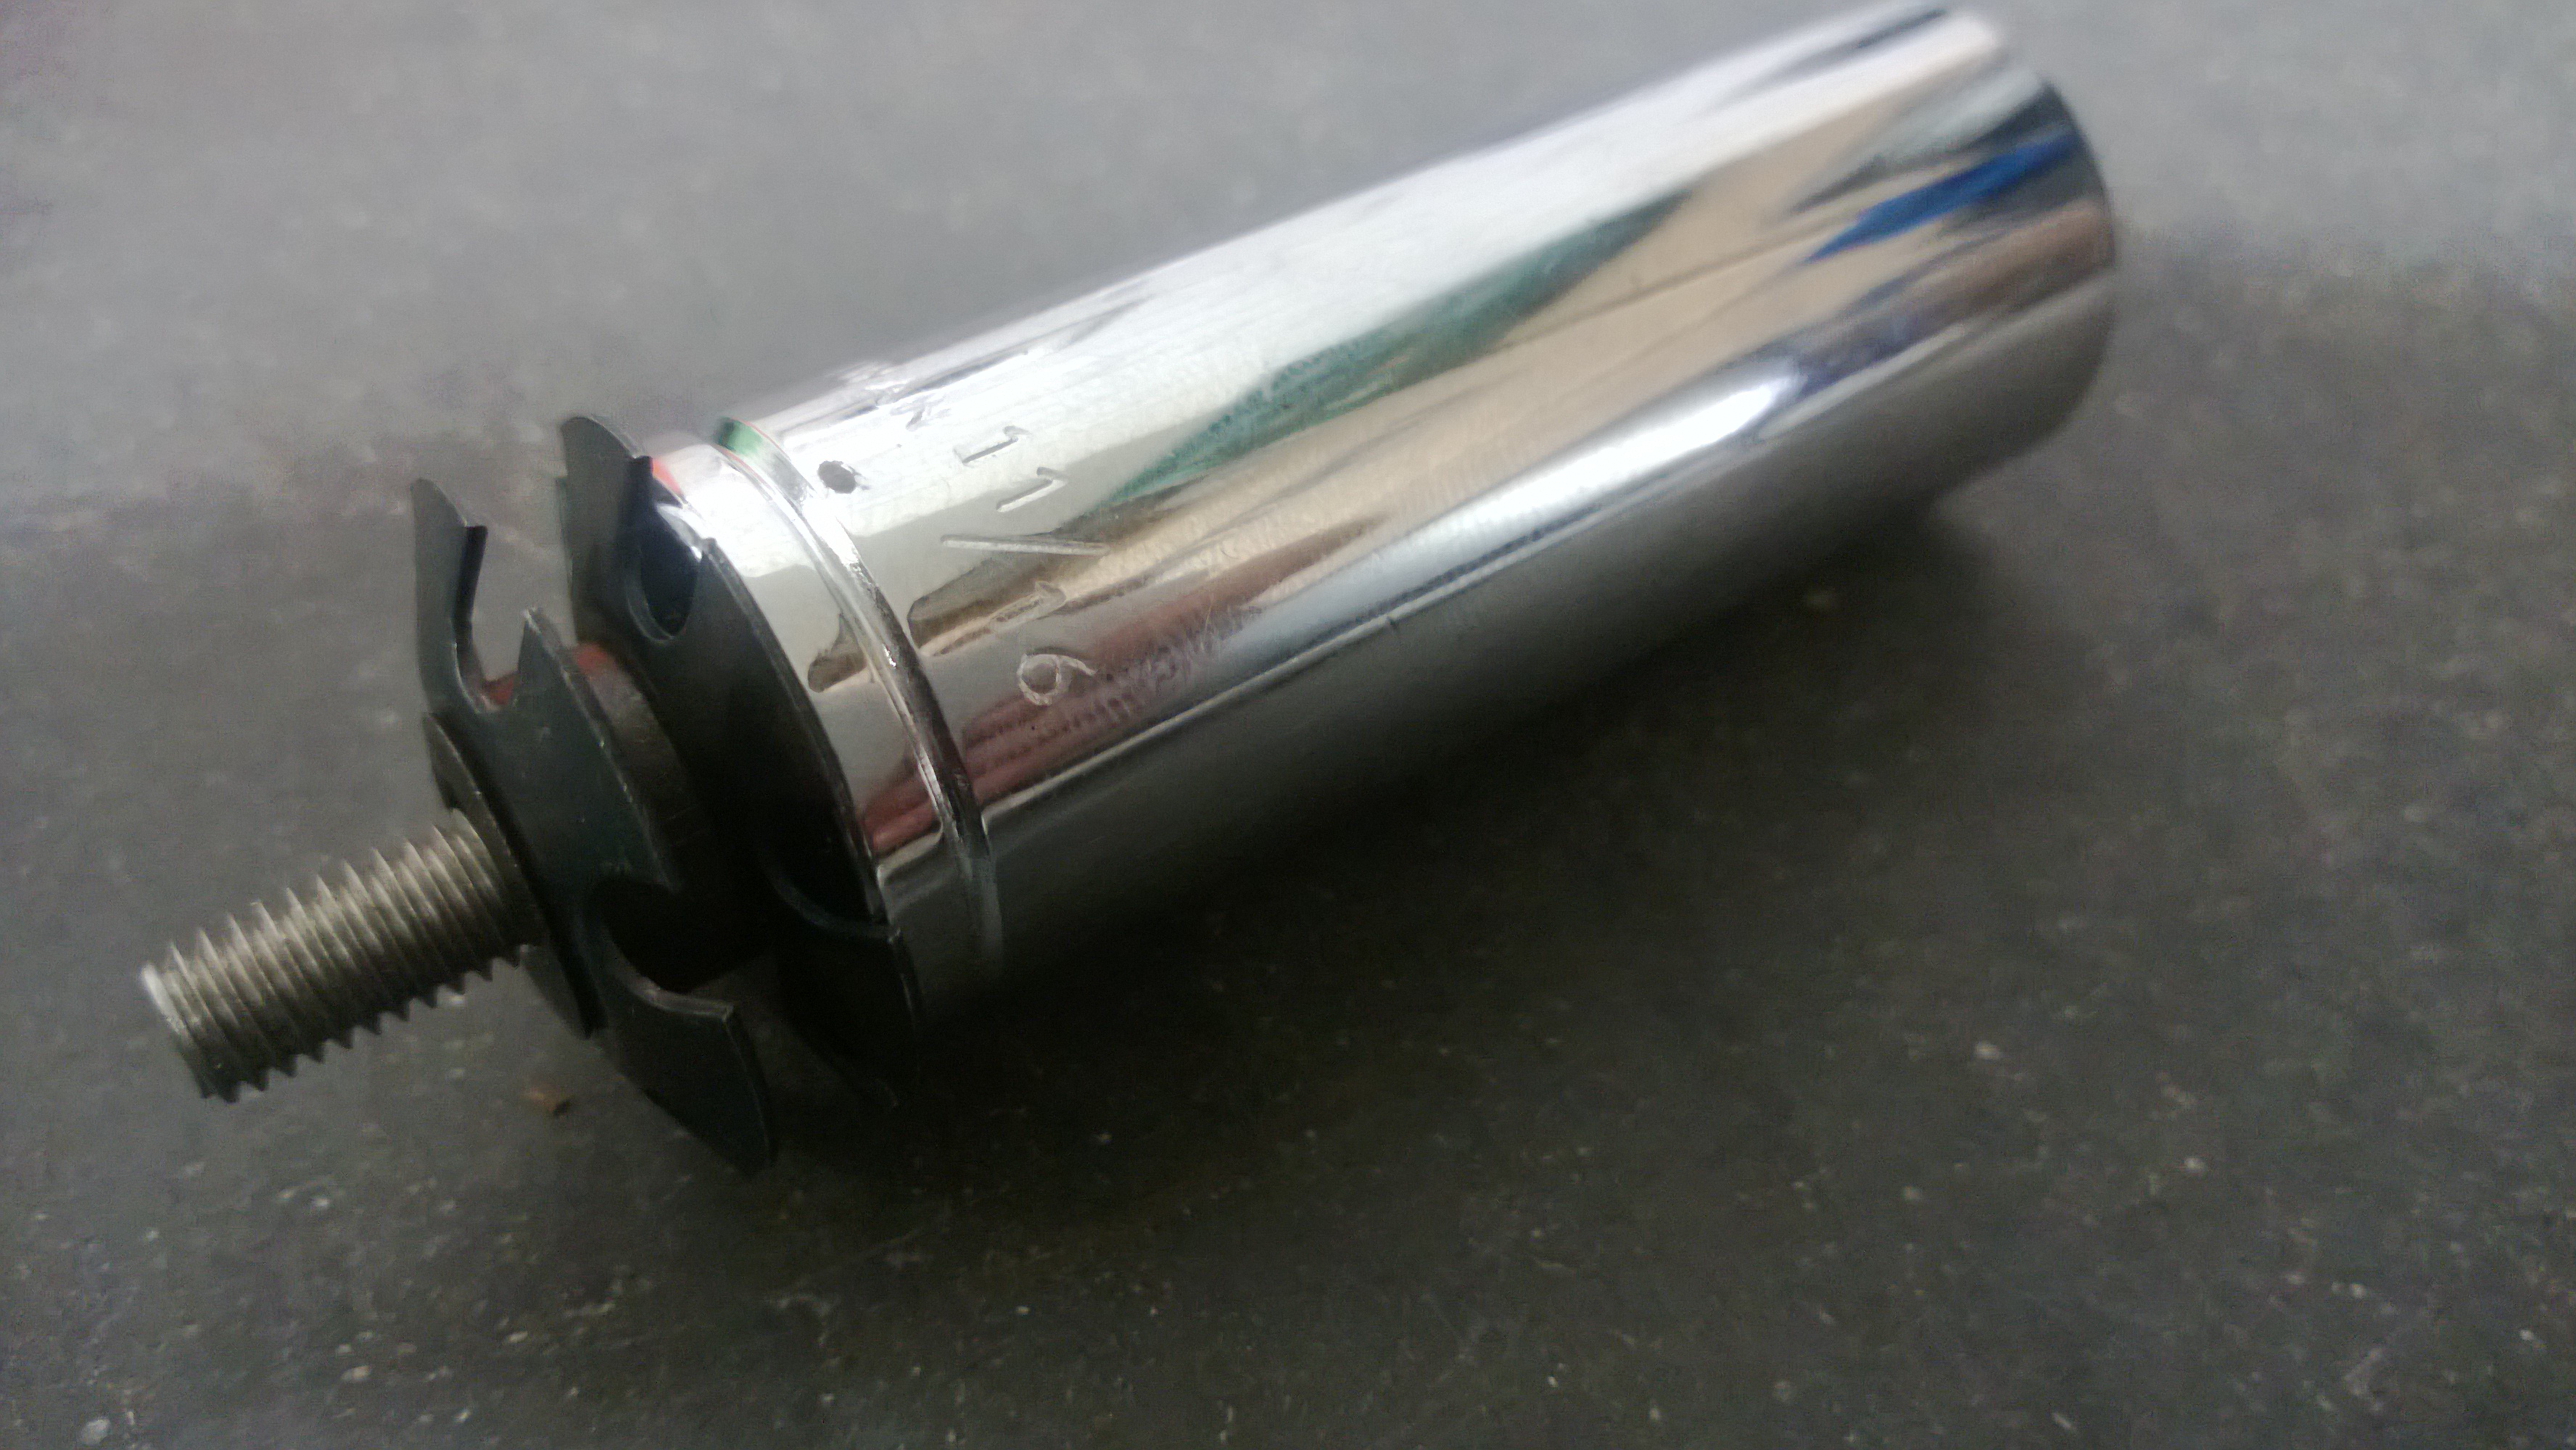
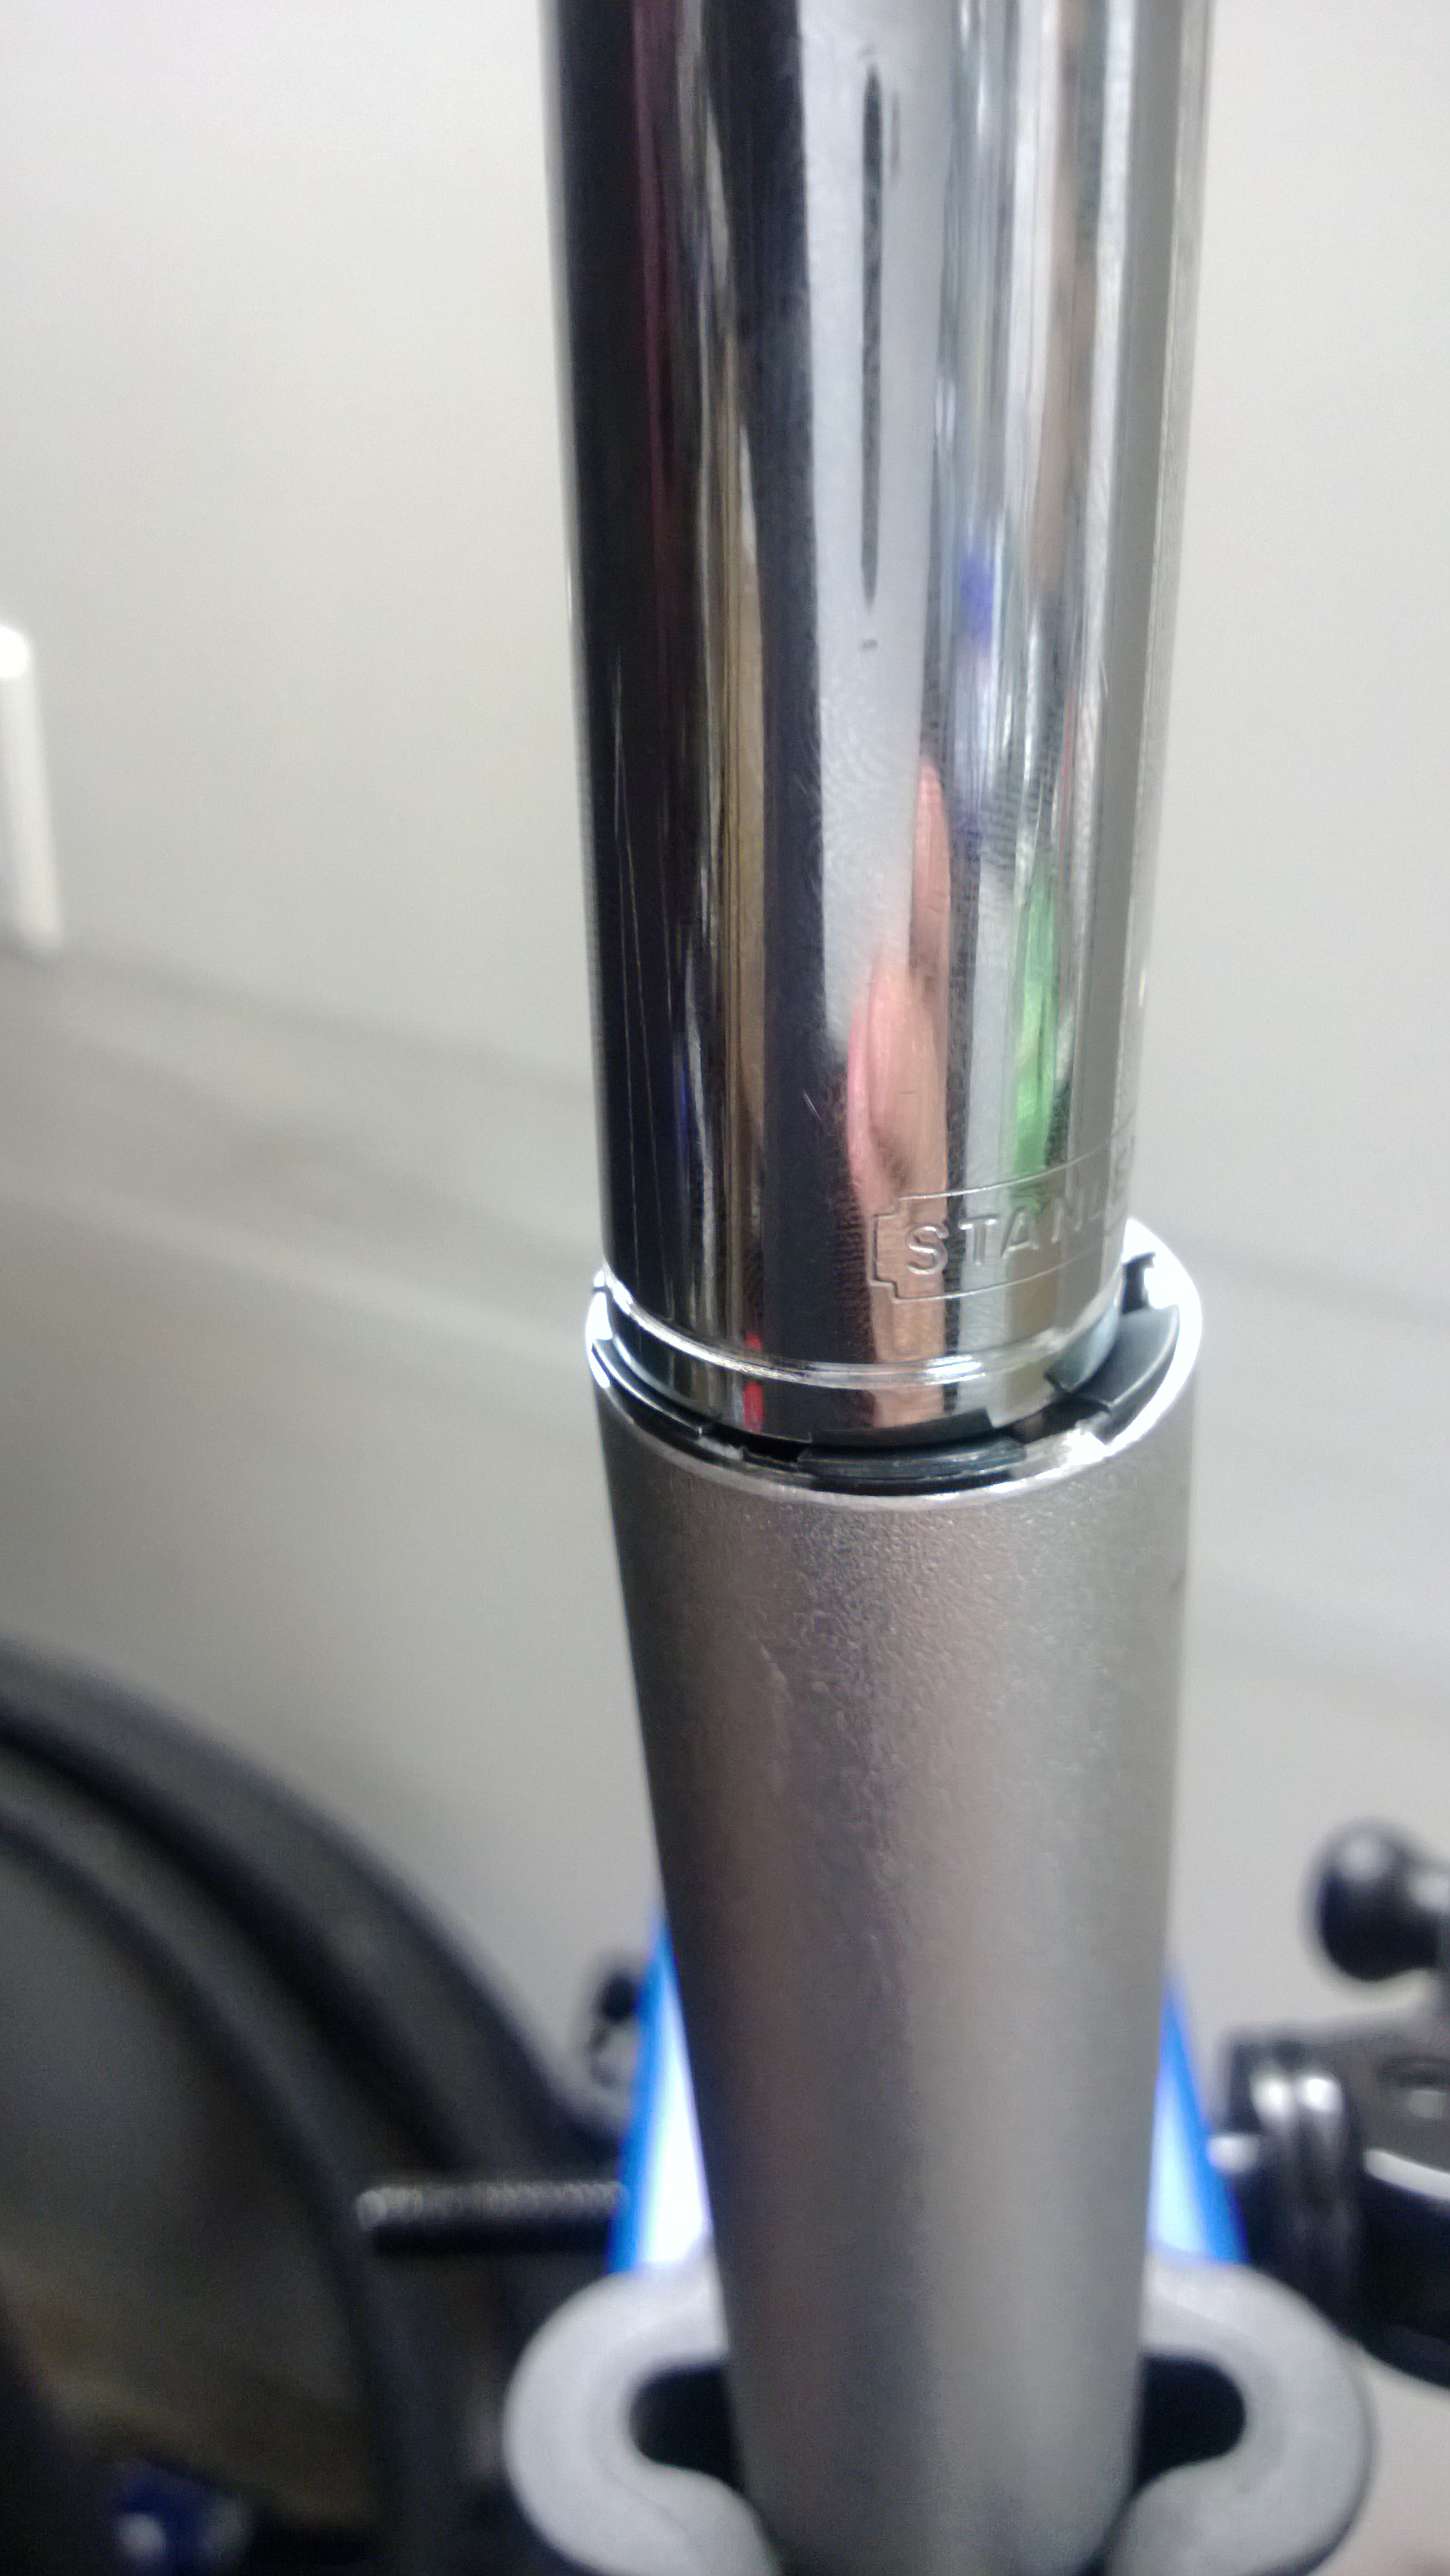
There were things I had to hack, like “How to install a star fangled nut into a bike stem without the right tools” – turns out that bolting the star nut to a 11/16″ socket, and using a rubber mallet to tap it in (very, very carefully) can get the job done in a pinch. Of course, I’d recommend using the right tool for the job just in case.
The rest of the build went pretty smoothly… one step at a time…
Mistakes were made.
I only made two major mistakes. Thankfully one of them was not cutting the steering tube on the fork to the right length! The first mistake was that I wasn’t paying attention when cutting some of the shifting housing and accidentally cut the shifting cable while trimming off the end of the housing! That was a pretty cheap mistake to fix. The second mistake I made was more critical – I originally had the wrong chain from Shimano and it didn’t shift/work well with my cassette. I road on it for a while until it broke (prematurely) – thankfully it didn’t leave me stranded somewhere out in the middle nowhere!
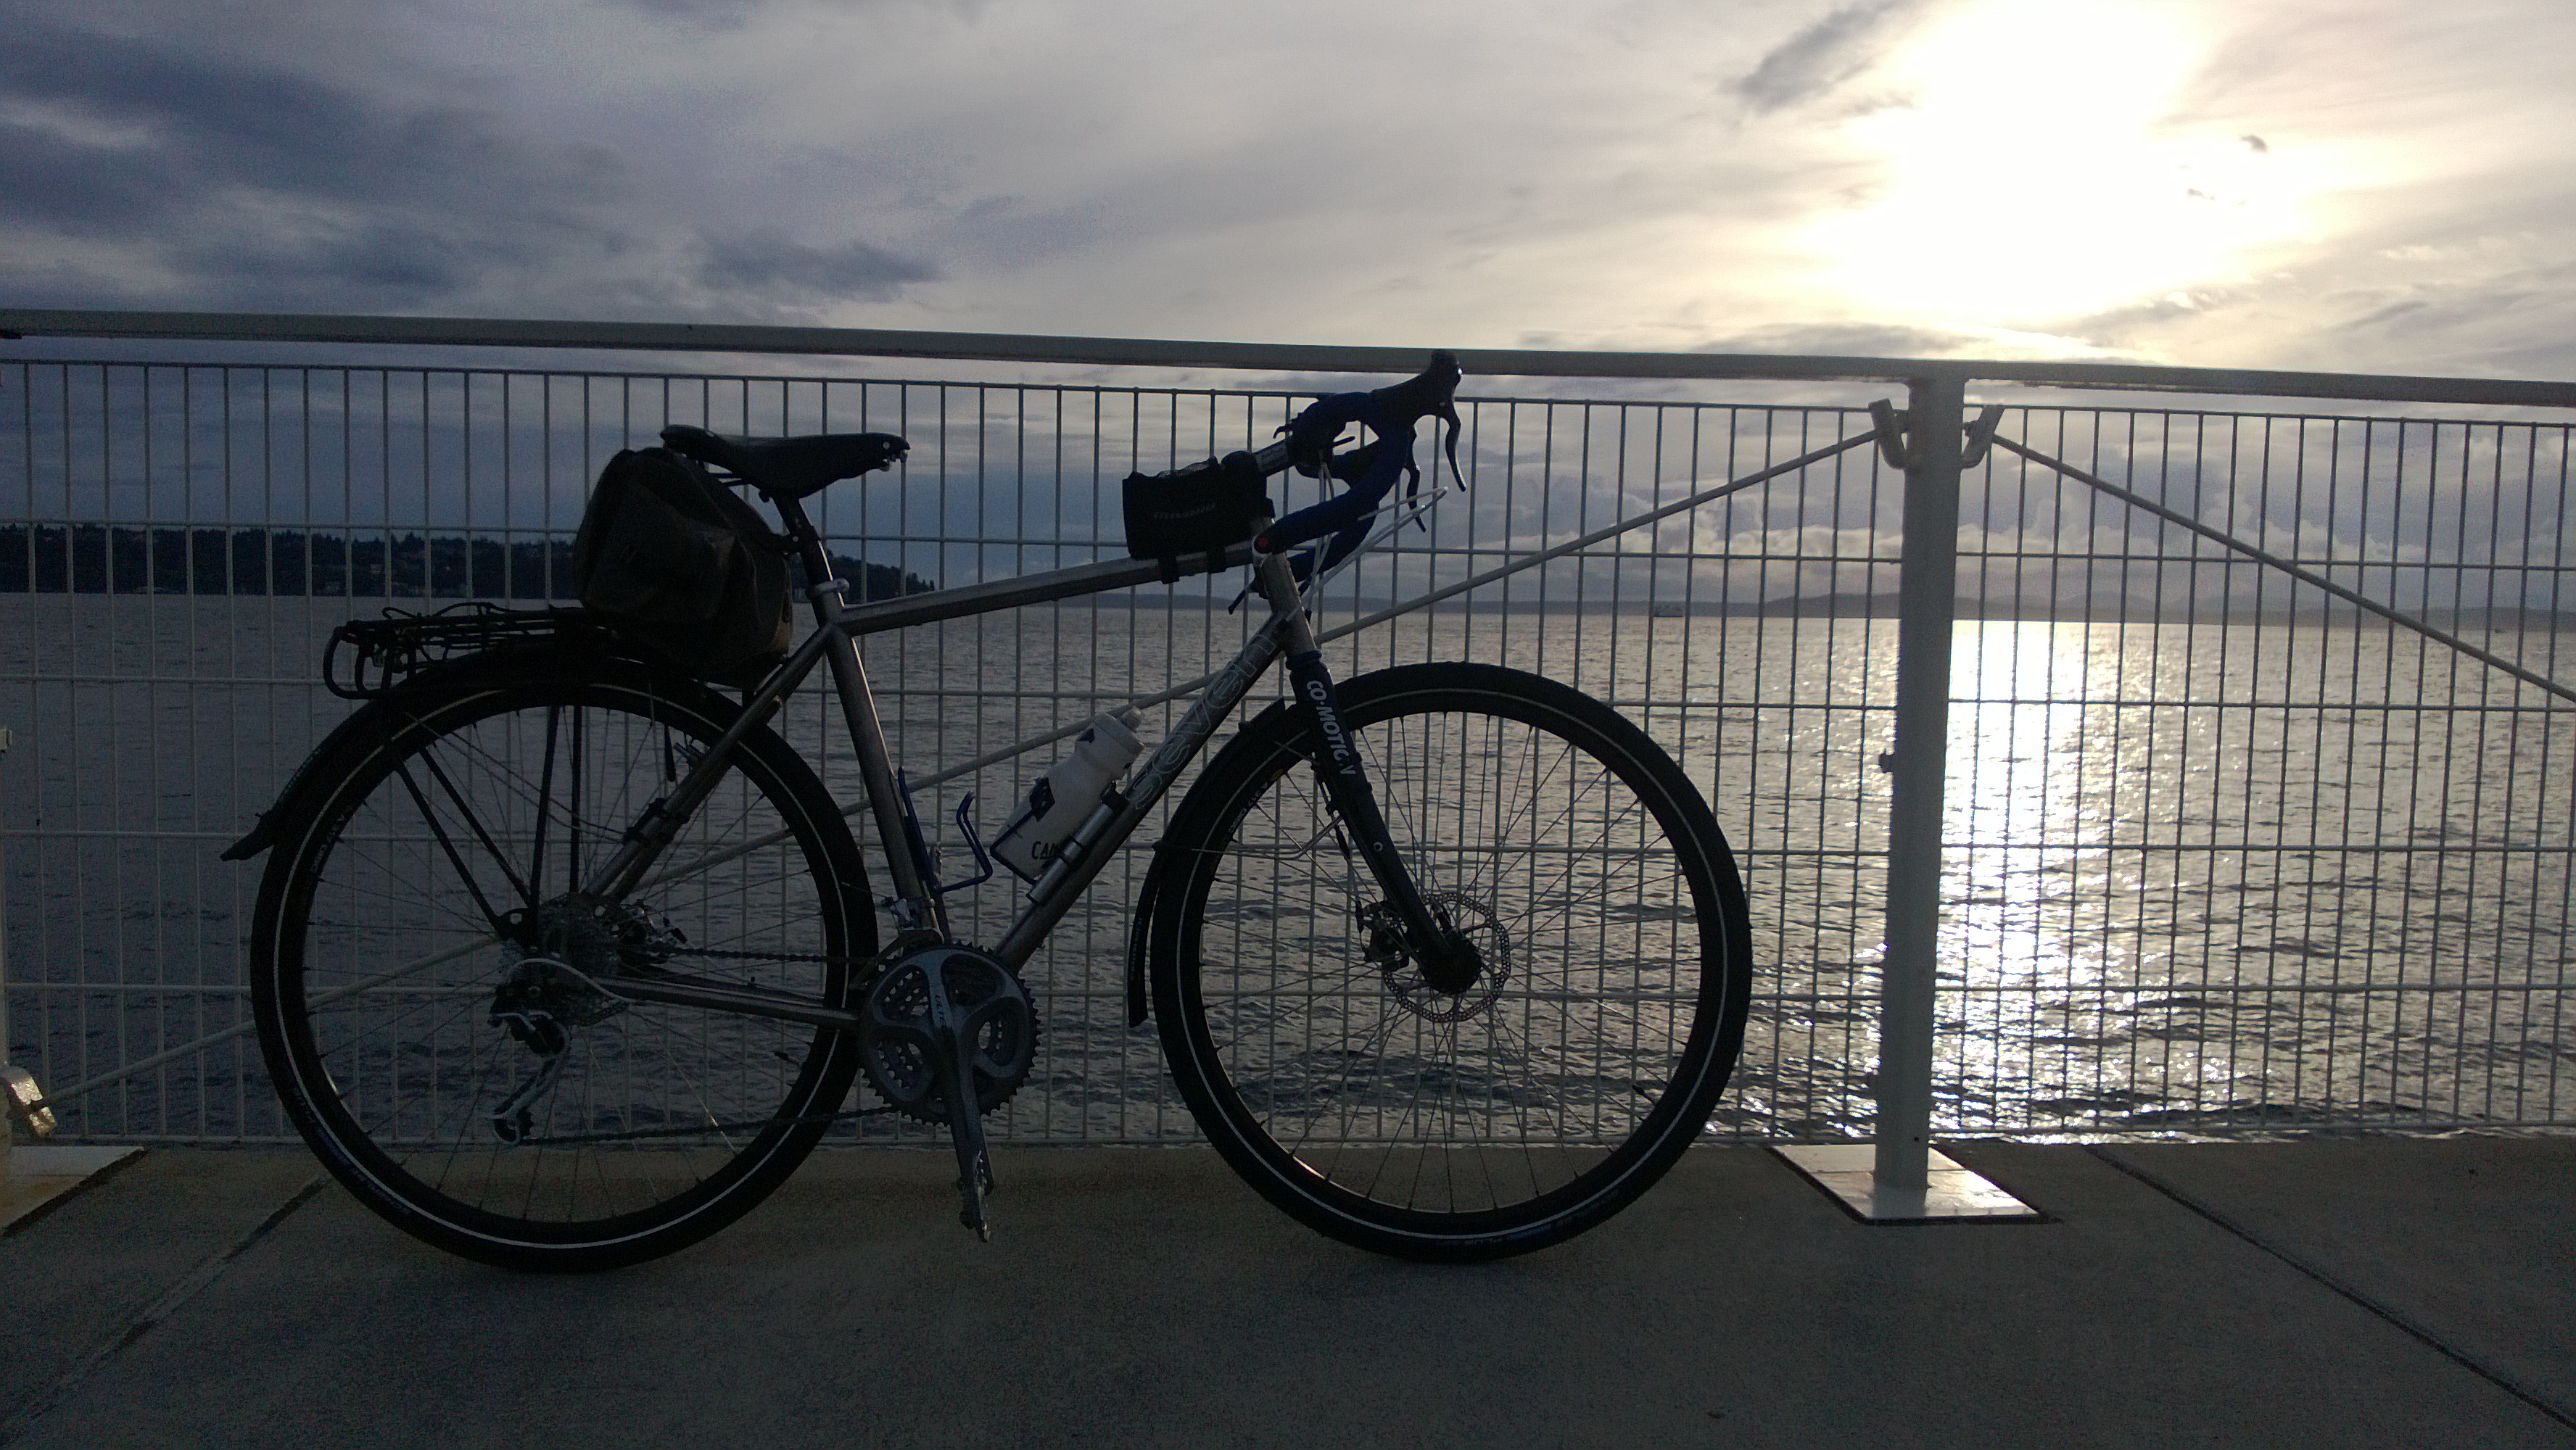
So, how’s the ride?
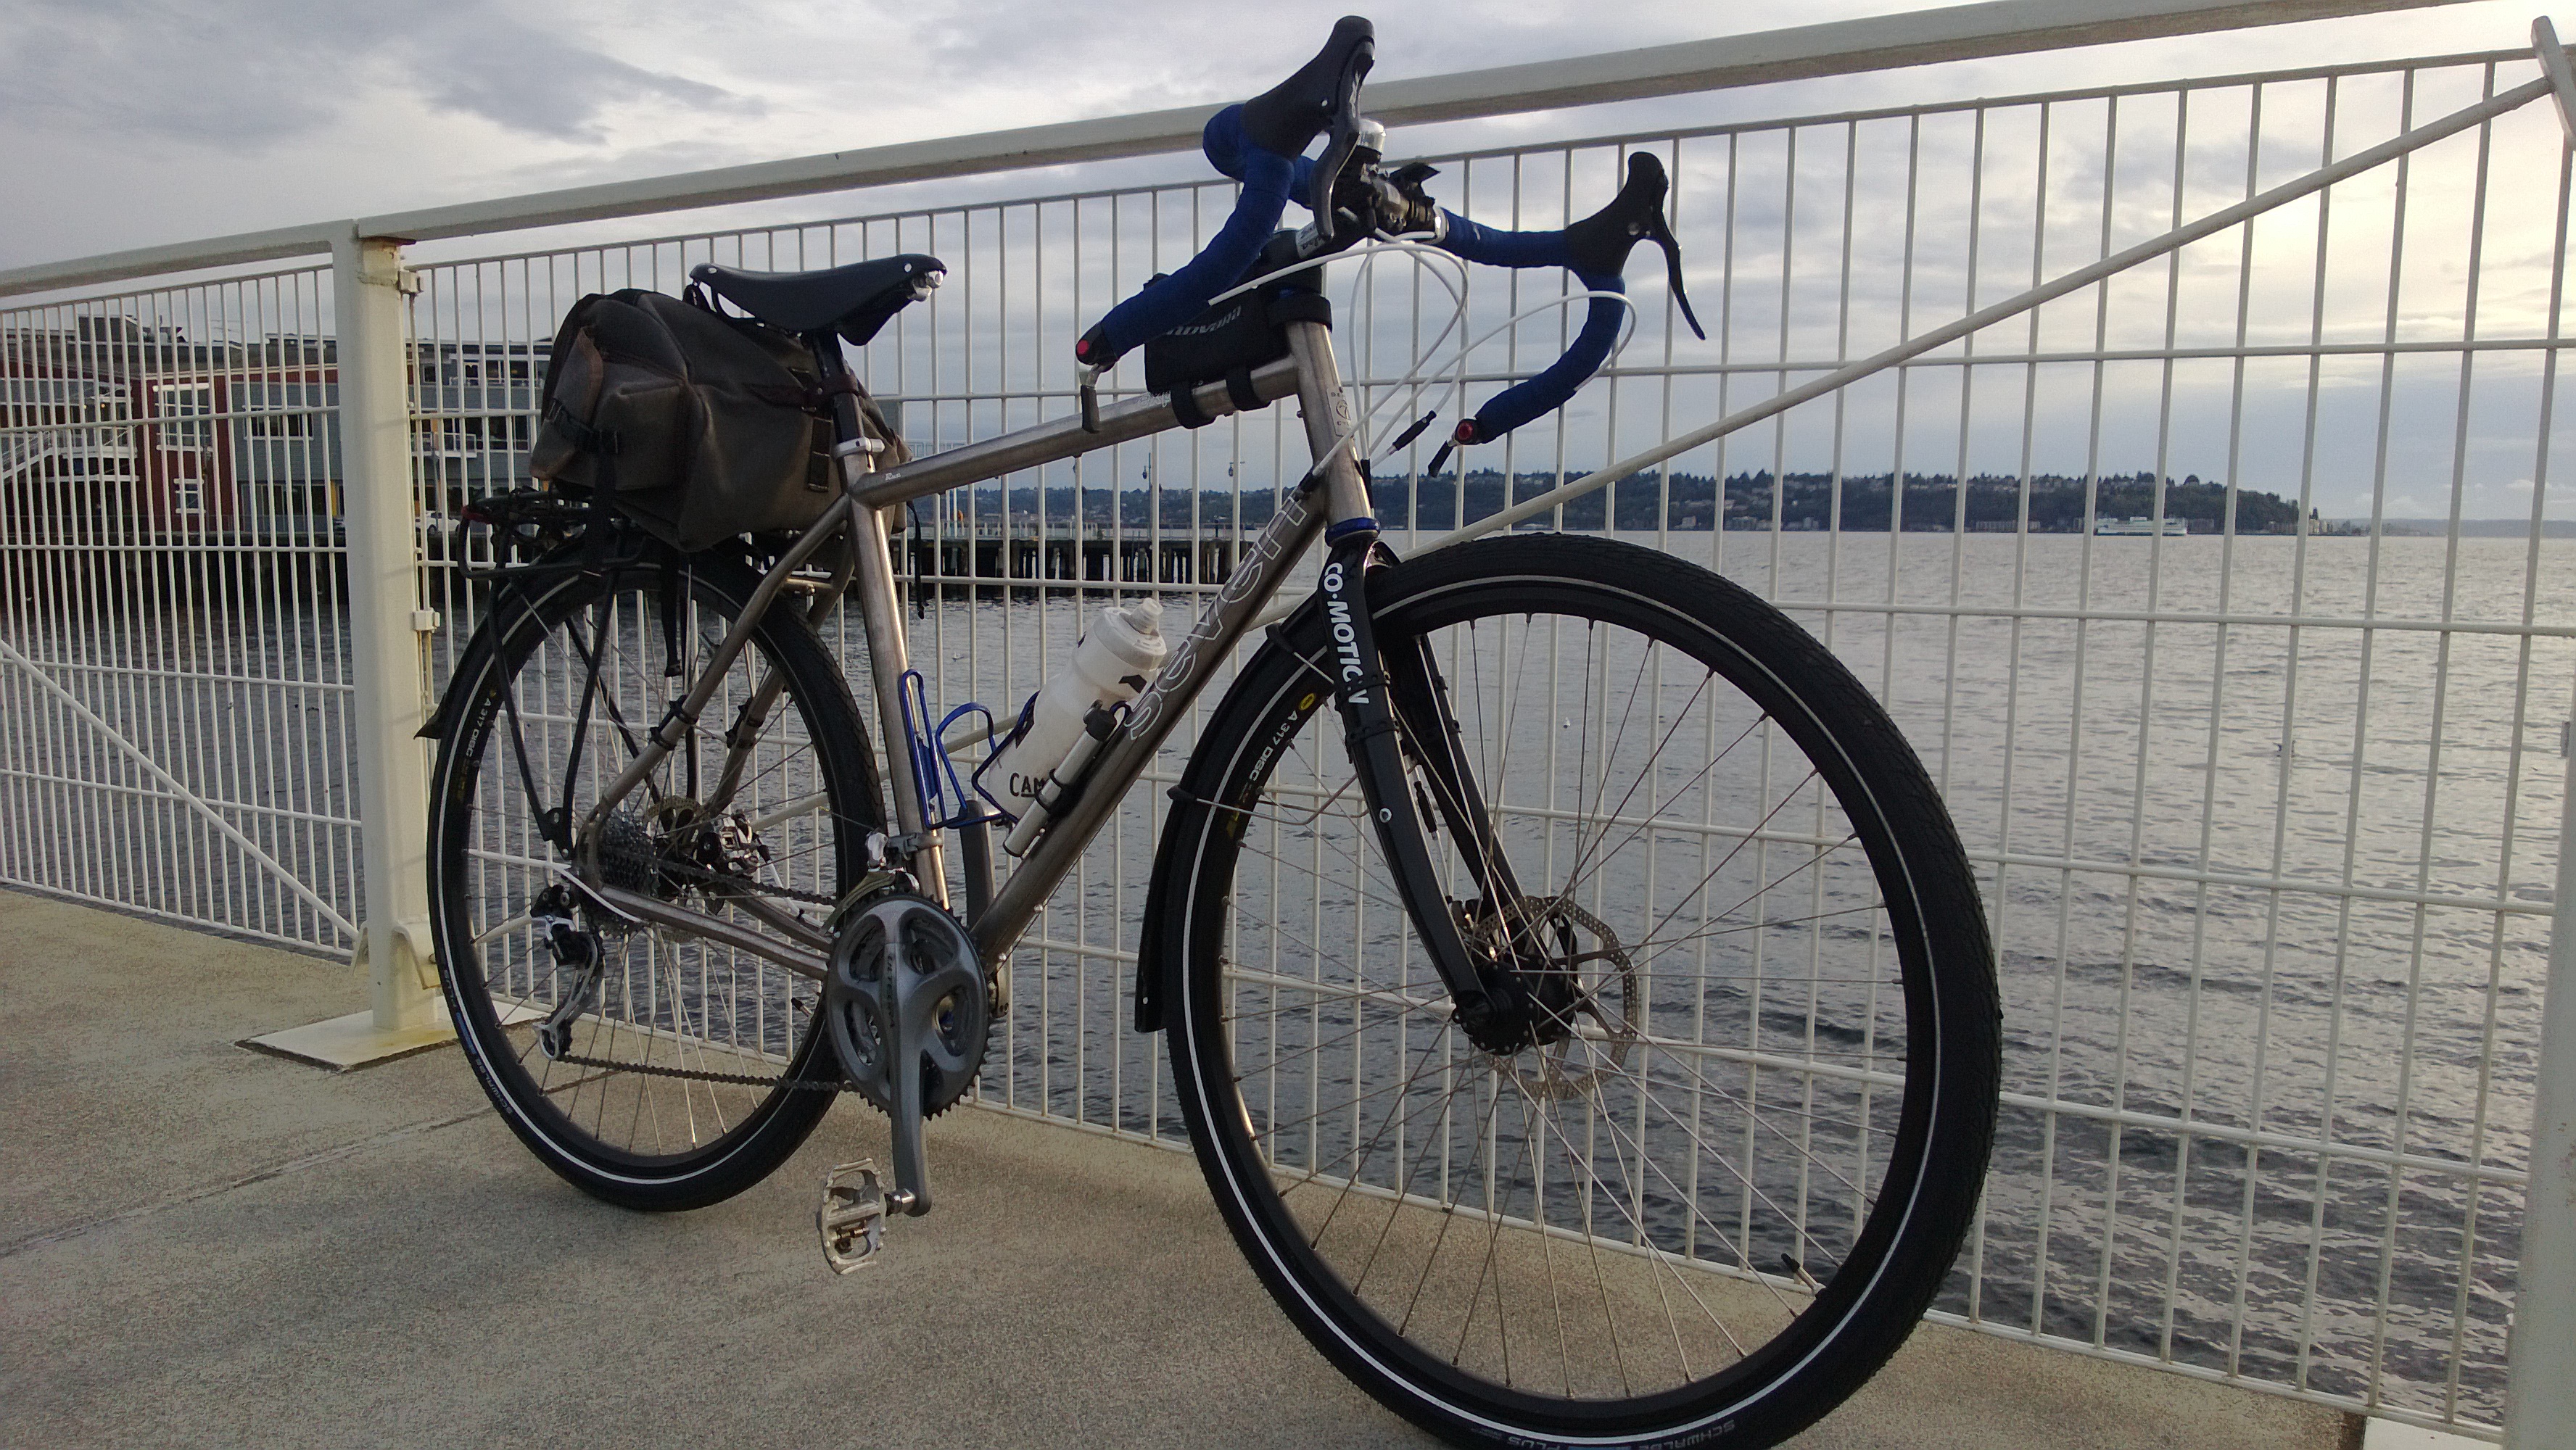
Love it. Rue rides better than her predecessor, is smoother, and just feels right. It’s been 7 months of riding, including one international lightly-loaded bike tour, and I’m still a big fan.
I’m happy I made the transition from steel to titanium – the comfort of the ride has improved and it certainly gave the feeling I was looking for. But, most importantly, CBS/Seven Cycles did a great job fitting the frame to my body which makes it even better than I expected.
Didn’t know you were doing this….nice job…looks like you put a tremendous amount of time and labor into this project. Glad you are pleased with the results. I am sure you got a lot of satisfaction from the finished project. That is the way I feel after completing a project(most of mine have been powered 4 wheel items)
Gonna do the same for M??
I also have a Seven Expat S — took delivery Feb 1, 2014. It's wonderful. If you're interested, I have several photos here: https://www.flickr.com/photos/dan_gomboc/sets/721…
At the end of May I'm planning my first tour with it….350 miles on rails-to-trails. Not exactly cross country, but I can't wait!
Enjoy your Seven!
Hey Kevin,
Your Seven Expat is beautiful! What fenders did you use on it?
Cheers!
Keith
Thanks! I'm using SKS Raceblades. I got them because I thought I'd take them on and off, but turns out I just leave them on most of the year. Link: http://smile.amazon.com/Raceblade-Bicycle-Fender-…