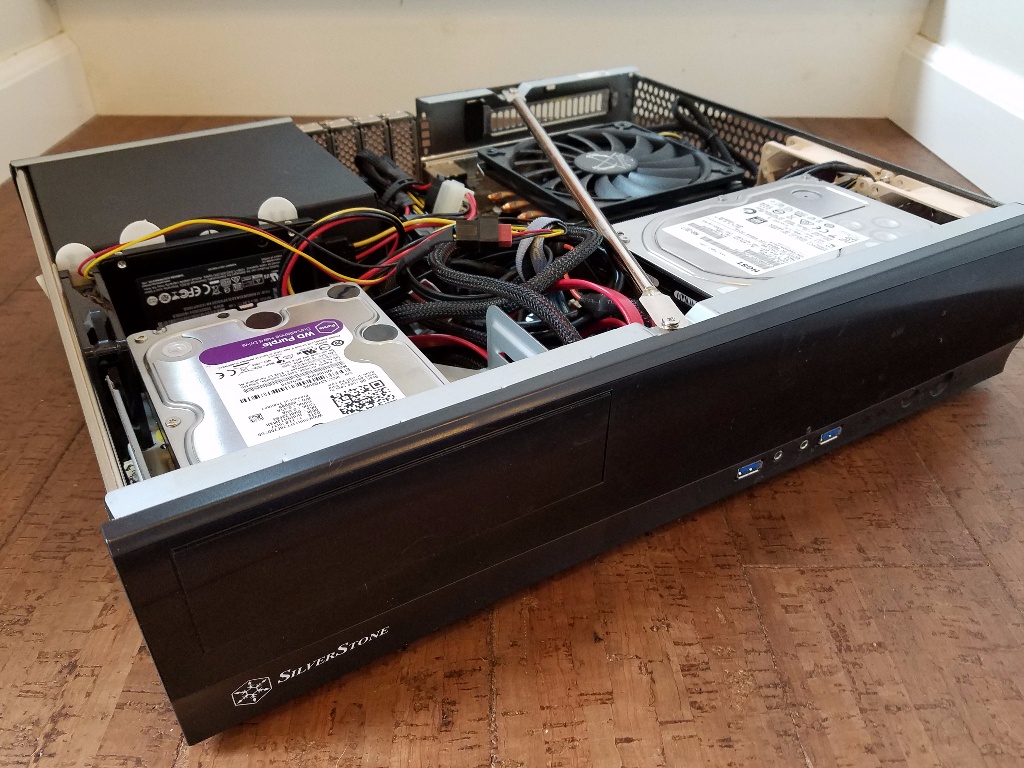
This is the first in several posts about getting unRAID setup for the first time. Look for the unRAID tag to see all of the related posts.
I’ve run a Windows 10 (and Vista, 7, 8, 8.1) machine as our household’s file server for many, many years. It worked well enough. I had two hard drives set up as a RAID, and an SSD to run the OS from. But I began to realize that this setup was a lil risky and pretty inflexible – most notably it would never notify me if one of my disks started to fail (or any other data-oriented problems, for that matter). And it wasn’t easy to run the open source software packages I was wanting to run (like OpenVPN or ZoneMinder).
This was a prescient worry given that my two 1.5TB drives which stored all of my family’s most important photos & files were about to fail.
I looked around at getting a dedicated box for just file serving (Synology, QNAP). I looked at software to add to the Windows install to solve some of my issues like better data protection (most notably SnapRAID). And I looked at the slew of dedicated home NAS software like FreeNAS, Nas4Free, and unRAID.
Ultimately I picked unRAID because it looked to be the easiest to get everything running, had a good and active support community, was cheap (but not free) and was based on a Linux distribution (instead of FreeBSD). The biggest thing going against unRAID to me was that (1) it didn’t have native bit rot (data degradation) protection like SnapRAID or FreeNAS and (2) it’s not open source. I decided I can live with a commercial project and that I can find a work around to protect against bit rot.
I was really close to choosing FreeNAS, but they were going through some turmoil with a failed release of their next-generation version 10 that had the Docker support I wanted… so I passed for now.
It should be clear that this isn’t intended to be a comparison of all the NAS options out there – if you’re interested in doing your own comparison, there’s a bunch of info out there and you should judge for yourself. For example, SnapRAID has a really nice comparison table of the file system capabilities that I found very useful.
What my computer did before (running Windows):
- Store and serve files (documents, pictures, music, and video)
- Backup those files to the cloud (via CrashPlan)
- Provide a backup location for the computers in our extended family (via CrashPlan)
- Run our in-house music system (via Logitech Squeezebox family of devices)
- Run my IP security camera system
- Monitor the UPS (backup battery) and gracefully shut down in the event of power loss
- Occasionally watch Hulu via the web browser & the TV it was connected to.
What it didn’t do:
- Monitor the health of the disks (and files) and inform me of impending problems
- Provide a dashboard of system health, status, and related controls
- Operate power-efficiently, because…
- Both disks in the RAID spinning up when reading any file
- Case fans ran all the time (vs. being controlled by HDD temperatures)
- Spending time & energy updating parts of the OS I’ll never use (looking at you, Windows Modules Installer Worker)
- Spend time/energy protecting itself from viruses (looking at you, Antimalware Service Executable)
- Parity check the files in a way to allow for recovery in the event of bit rot (data degradation)
- Enable me to run open source packages easily (in particular, leverage Docker to manage software installs)
- OpenVPN, NextCloud, ZoneMinder, for example.
- Be more resilient to ransomware attacks (e.g. WannaCry)
Choosing unRAID got me all of these missing things on my existing hardware. The only thing that is missing right now is a good parity checking solution to enable finding & fixing data degradation on unRAID.
In the next few posts I’ll cover how I did the conversion, and document some of the hassles I had to overcome to get unRAID working exactly the way I want it to.
In that process I was able to:
- Migrate the basic functionality and data of my Windows machine to unRAID
- Copy my Windows installation to a VM running on unRAID, and set it up with exclusive access to one of my disks outside of the NAS RAID array.
- Setup OpenVPN (which runs way better than it did on my Raspberry Pi)
- Verify that unRAID’s parity system does indeed work to recover a failed disk.
- Setup custom fan controls so the machine runs very, very quietly (which is important, because it’s in our TV room)
Look for the unRAID tag to see all of the posts related to this project.


